
No products in the cart.
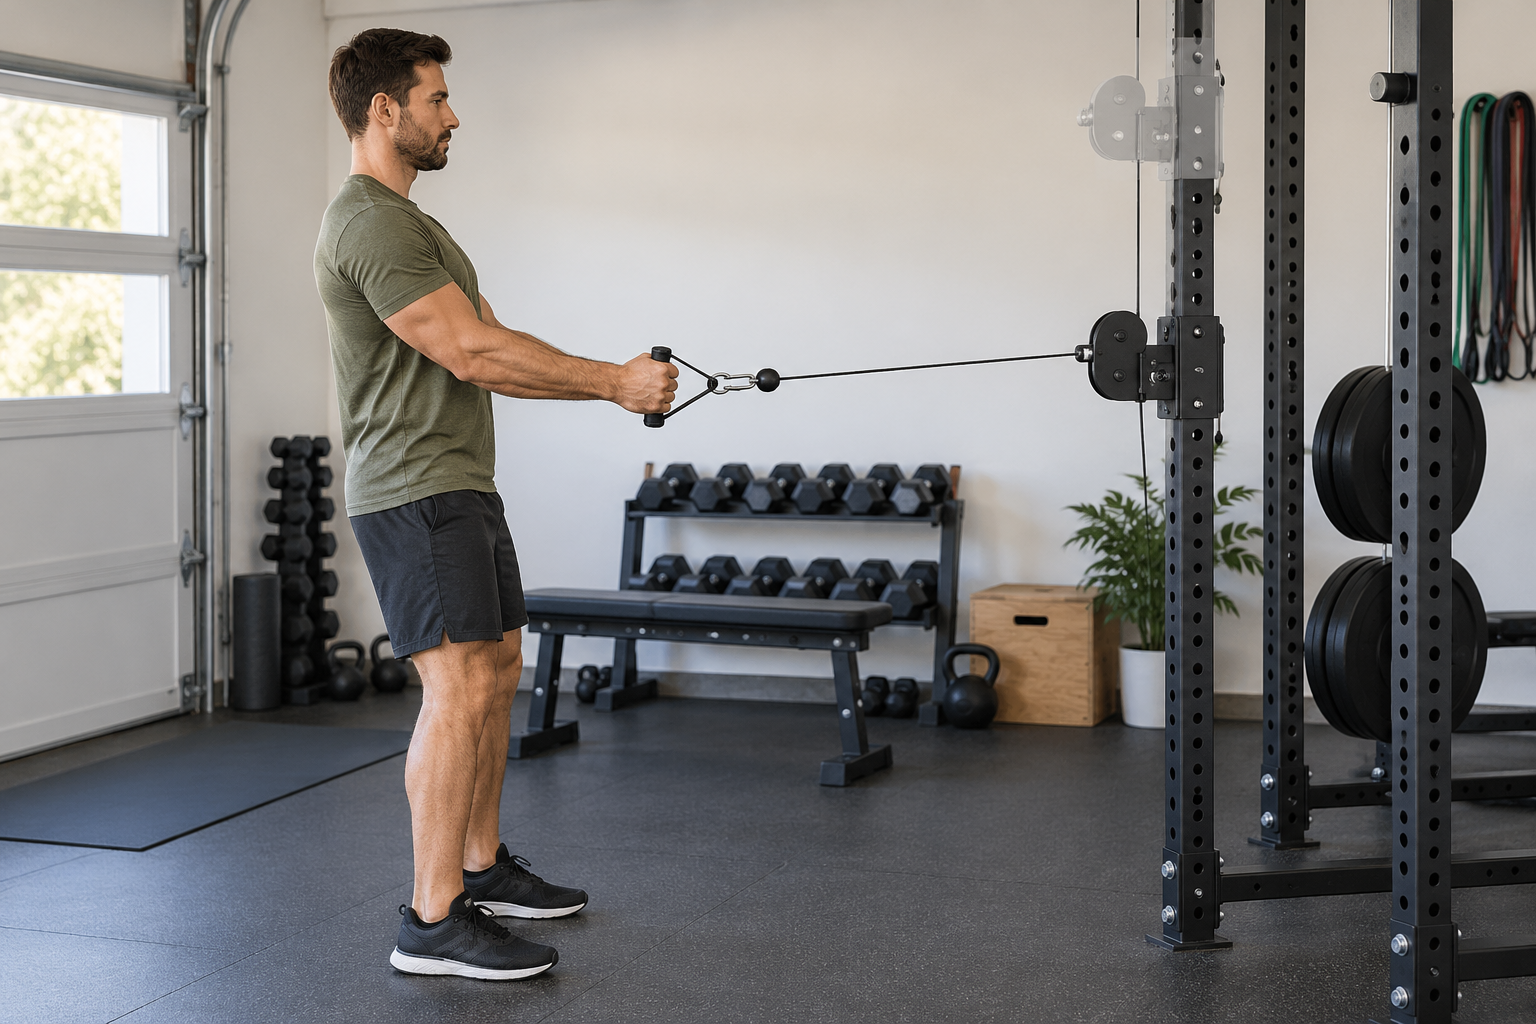
How to Set Cable Pulley Height for Rows, Presses, and Pull-Downs
Set the pulley so the cable approaches your hands along the direction you intend to move, then test the full range with no added load. A high pulley generally suits a downward pull, a low pulley suits an upward pull or curl, and a mid-height pulley often suits a row or press. Those are starting points, not universal prescriptions: pulley travel, body position, attachment, and the machine maker’s directions all affect the setup. If the cable rubs, goes slack, pulls you off balance, or forces a painful joint position, stop and reposition it.
Start with the movement, not a number on the upright
Pulley height is only one part of a cable exercise. First decide where your hands should start and finish, where you will stand or sit, and which direction your arms will travel. Then choose the nearest pulley position that lets the cable stay clear of the frame and move smoothly through that path. There is no standard height in inches that works for every person or every machine. Rack hole spacing, pulley design, cable length, and the user’s reach vary. Use the manufacturer’s approved adjustment points rather than adding a pulley, strap, or improvised anchor.
Common starting positions
- Lat pull-down: Start with the pulley high enough that the cable descends toward your hands while your arms reach overhead. Sit or stand as the equipment instructions specify. Keep the torso controlled; do not compensate for a poor setup by leaning far back or yanking the handle.
- Row: A low or mid-level pulley can let the handle travel toward the lower ribs or abdomen while your elbows move back. The right position depends on whether you are seated, standing, or using a bench. ACE’s seated-row guide describes pulling the handle toward the front of the stomach with the elbows close to the ribs, while its high-row guide describes a higher pull toward the chest. That difference is one reason to set the pulley for the intended row rather than treating every row as identical.
- Chest press or fly: For a press, handles commonly begin around mid-chest when the machine allows that adjustment. A fly may use a different cable line depending on whether the movement is high-to-low, level, or low-to-high. Keep the motion comfortable and controlled; do not force the arms behind the body to chase a larger stretch.
- Curl or lift-up variation: A low pulley can provide resistance as the hands move upward. Stand far enough away for the cable to remain taut at the start without leaning or allowing the weight to rest abruptly.
Use a no-load path check
Before loading the system, move the pulley to the selected position according to its instructions and confirm its pin or locking mechanism is fully engaged. Attach the specified handle and stand where you expect to exercise. Move slowly through the intended range with no plates attached, if the equipment design permits this. Watch the cable at both ends: it should remain seated in the pulley groove, travel without scraping the upright, and avoid sharp sideways angles. Check that your knuckles, handle, and the suspended loading pin will not strike a wall, rack, bench, or floor.
Then choose a conservative first load
Once the path is clear, follow the manufacturer’s loading and inspection procedure. Start with a light resistance that lets you control both the pull and the return. The cable should not snap tight at the end of the range, and the stack or loading pin should not swing into nearby objects. Keep bystanders outside the path of the cable and suspended plates. If a fitting shifts, a cable looks damaged, the pulley binds, or the support moves, stop and correct the setup before continuing. Do not infer the capacity of a rack or anchor from the weight rating of a separate pulley accessory; every part in the complete system has its own limits.
Adjust one variable at a time
If the pull feels awkward, change one thing, then repeat the unloaded path check: pulley height, where you stand, or the handle choice. A cable that pulls sharply upward or downward at the start may indicate that the pulley position or user distance is wrong for the movement. A line that runs nearly sideways into the pulley can create rubbing or poor tracking. Do not solve these problems by leaning harder, twisting the wrist, or increasing the load. If the equipment cannot produce a smooth path for your intended exercise within its approved positions, choose a different exercise or use equipment designed for that motion.
What to record for a repeatable setup
Write down the movement, pulley hole or labeled position, attachment, body position, and any clearance notes. Record the setting only as a convenience for your own machine; a hole number is not transferable to a different rack. Recheck the lock and cable before each session, especially after moving the pulley. Inspect the line and connectors as directed by the maker. When instructions are missing, a support point is uncertain, or pain occurs, pause and seek guidance from the equipment manufacturer or a qualified fitness professional. This guide is general setup information, not an assessment of a particular person’s medical needs or a certification that a home mounting point is safe.
A related pulley option
The WaxmanUSA product page for its LAT and Lift Pulley System currently lists a $43.00 price and describes pull-down and lift-up modes, detachable handles, and two cable lengths. Those are listing details for that product; they do not determine the correct height for another cable station, and they do not certify the strength of your rack or mounting point. Check the current listing and supplied instructions before deciding whether its configuration fits your setup.

Waxman Fitness LAT and Lift Pulley System
Product page lists pull-down and lift-up modes and detachable handles. Current listed price checked October 15, 2026: $43.00 USD. Price and availability may change; see product page.
Cover illustration is AI-generated and depicts generic equipment; it is not a product photograph or a tested setup.
Leave a Reply