
No products in the cart.
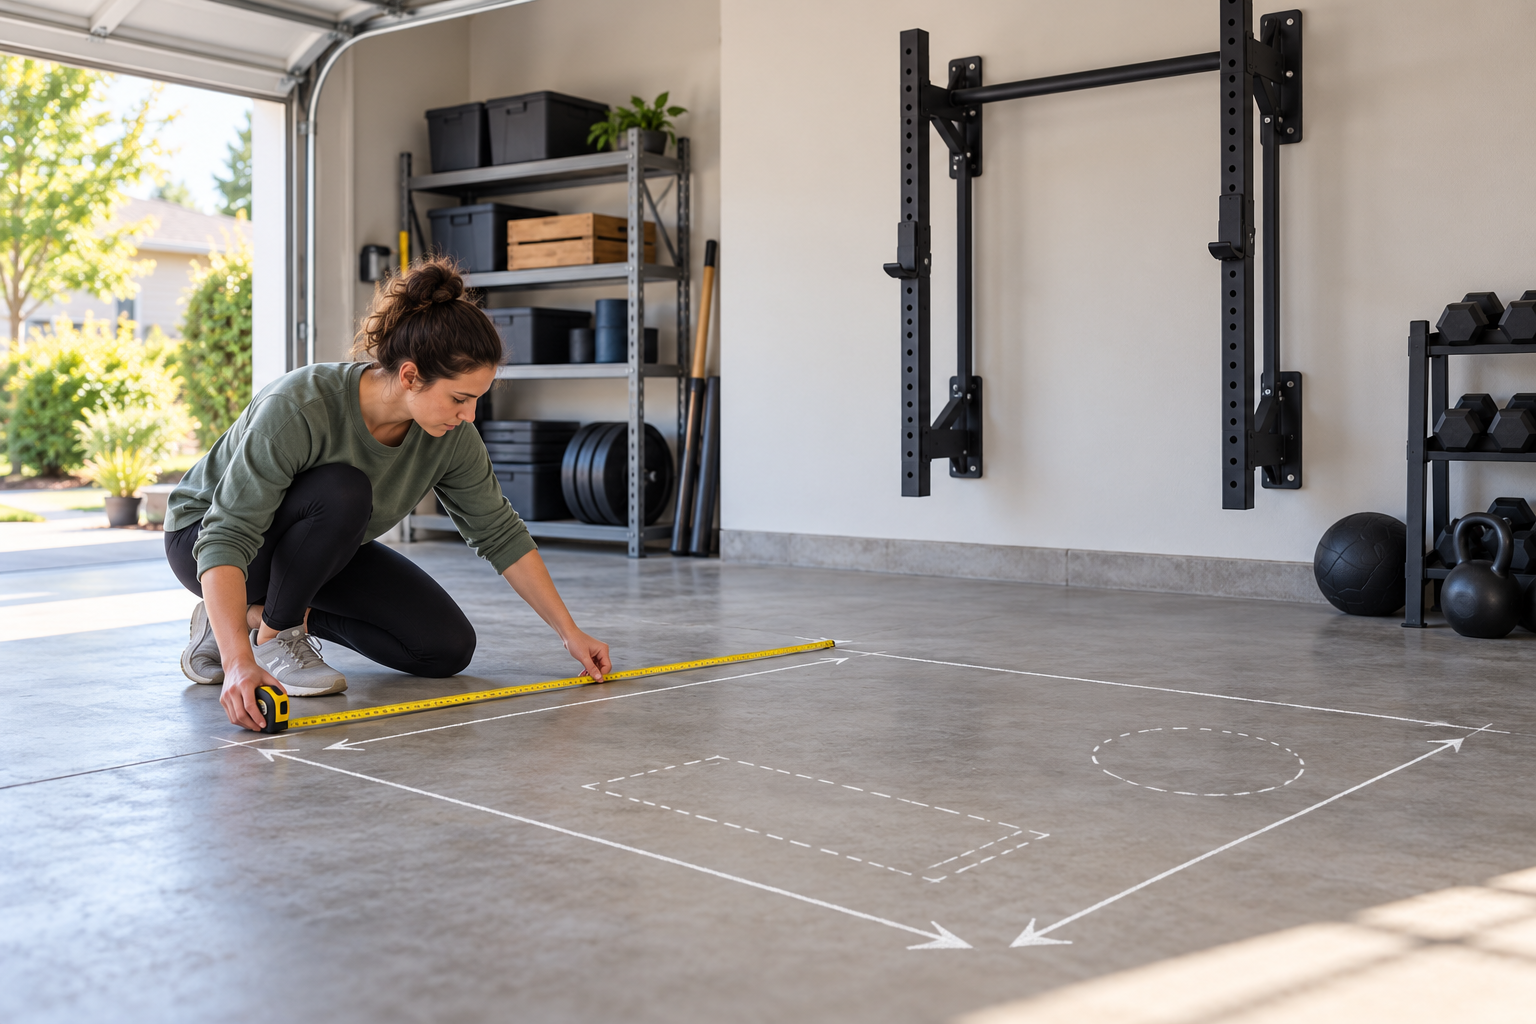
How to Measure Garage Gym Space Before Buying Equipment
Quick answer: measure the usable floor and ceiling, then map the equipment’s full working footprint—including the bar, bench, plates, doors, and your walking route. A machine can fit by its listed dimensions and still be awkward to assemble or use. Treat this as a planning method, not a universal clearance standard; follow the exact equipment manual and installation requirements before buying or mounting anything.
Start with the space you can actually use
Measure the room’s clear length, width, and height at several points. Garages are not always square: shelving, a water heater, steps, a sloped ceiling, parked-car doors, and the path to an exterior door can reduce the usable area. Mark the fixed obstructions on paper before choosing equipment. Note where electrical outlets, lights, and garage-door tracks sit, but do not assume a rack can be attached to any wall or placed under any overhead mechanism.
Use the smallest clear measurements, not the nominal room dimensions. If the garage must still hold a vehicle, measure the car in its normal parked position and include the space needed to open its doors. Leave the required route to exits and household equipment unobstructed. Building, fire, and electrical rules vary; check local requirements when the layout affects an exit, utility access, or a permanent installation.
Map the complete equipment footprint
Write down each item’s published assembled dimensions. Then draw it to scale or mark a rectangle on the floor with painter’s tape. The rectangle is a starting point, not the whole operating area. Add the bar length and plate-loading access for barbell equipment, the bench position for presses, and room to move a bench out of the way. For a cable station, trace the path of the handles and confirm that the intended exercise positions do not send a cable or attachment into a wall, vehicle, or doorway.
Check vertical space as carefully as floor space. Compare the equipment height with the lowest ceiling obstruction, then account for the movement you plan to do. A pull-up bar, overhead press, or tall attachment may need more room than the frame alone. Also consider assembly: some frames need to be raised upright or have upper pieces fitted in place. If the manual’s required assembly sequence cannot happen in the room, fitting the final assembled height under the ceiling may not solve the problem.
Test the layout before you order
- Measure the equipment footprint from its manufacturer’s current listing or manual.
- Tape that footprint on the floor, including any stated operating or installation clearance.
- Place a second outline for the bench, bar path, plates, and accessories in their in-use positions.
- Walk the route from the door to the equipment and check that doors, storage, and utility access still work.
- Compare ceiling height, wall construction, floor condition, and assembly steps with the model-specific instructions.
Try the planned movements without a loaded bar or improvised equipment. If the path feels cramped, an attachment would strike an obstruction, or a second person cannot reach the area, revise the layout. Do not use a tape outline as proof that a floor can support a fully loaded gym. For a heavy setup, uncertain wall framing, or an upper-floor installation, ask a qualified local professional to assess the structure and mounting method.
Example: a folding wall rack still needs a clear zone
At the time checked, Waxman lists its 2.36-inch folding wall squat rack as 21.8 inches deep, 47 inches wide, and 85.8 inches high, with a listed item weight of 94 pounds. Its product page describes it as a folding wall-mounted rack. Those dimensions help you begin a floor plan; they do not establish the wall’s suitability, the required fasteners, the installed projection, or a safe barbell working zone. Read the current instructions and confirm the actual installation conditions before purchase or use.
Price and availability can change. The published listing showed $299.99 USD on October 19, 2026. Check the current product page for the latest details.

Waxman Folding Wall Squat Rack
2.36-inch uprights; listed dimensions 21.8 × 47 × 85.8 inches; listed item weight 94 lb. Confirm model-specific installation instructions and wall requirements before purchase.
$299.99 USD (checked October 19, 2026). Price and availability may change; see product page.
When a different setup may fit better
If the rack’s full use zone blocks storage or a vehicle, reduce the equipment list before compromising required clearances. A bench and adjustable dumbbells may suit a smaller room; a folding rack may help with storage only when the manufacturer’s mounting instructions and your wall conditions allow it. If no layout provides a clear movement path, train elsewhere or choose a different type of equipment. The useful footprint is the area you can operate and access as instructed, not the smallest rectangle that can contain the frame.
Before you commit
Keep the room sketch, product dimensions, model number, and installation manual together. Recheck dimensions against the exact variant you intend to buy, because product listings and attachments can change. Measure again after delivery before drilling or assembling. If any measurement, structural requirement, or safety instruction is unclear, pause and contact the manufacturer or a qualified installer. Good planning makes a home gym easier to use while leaving the garage’s ordinary functions intact.
Product details and price checked October 19, 2026. Price and availability may change. The generated cover is an AI illustration, not product photography or a demonstrated layout.
Sources: Waxman product listing;.
Leave a Reply