
No products in the cart.
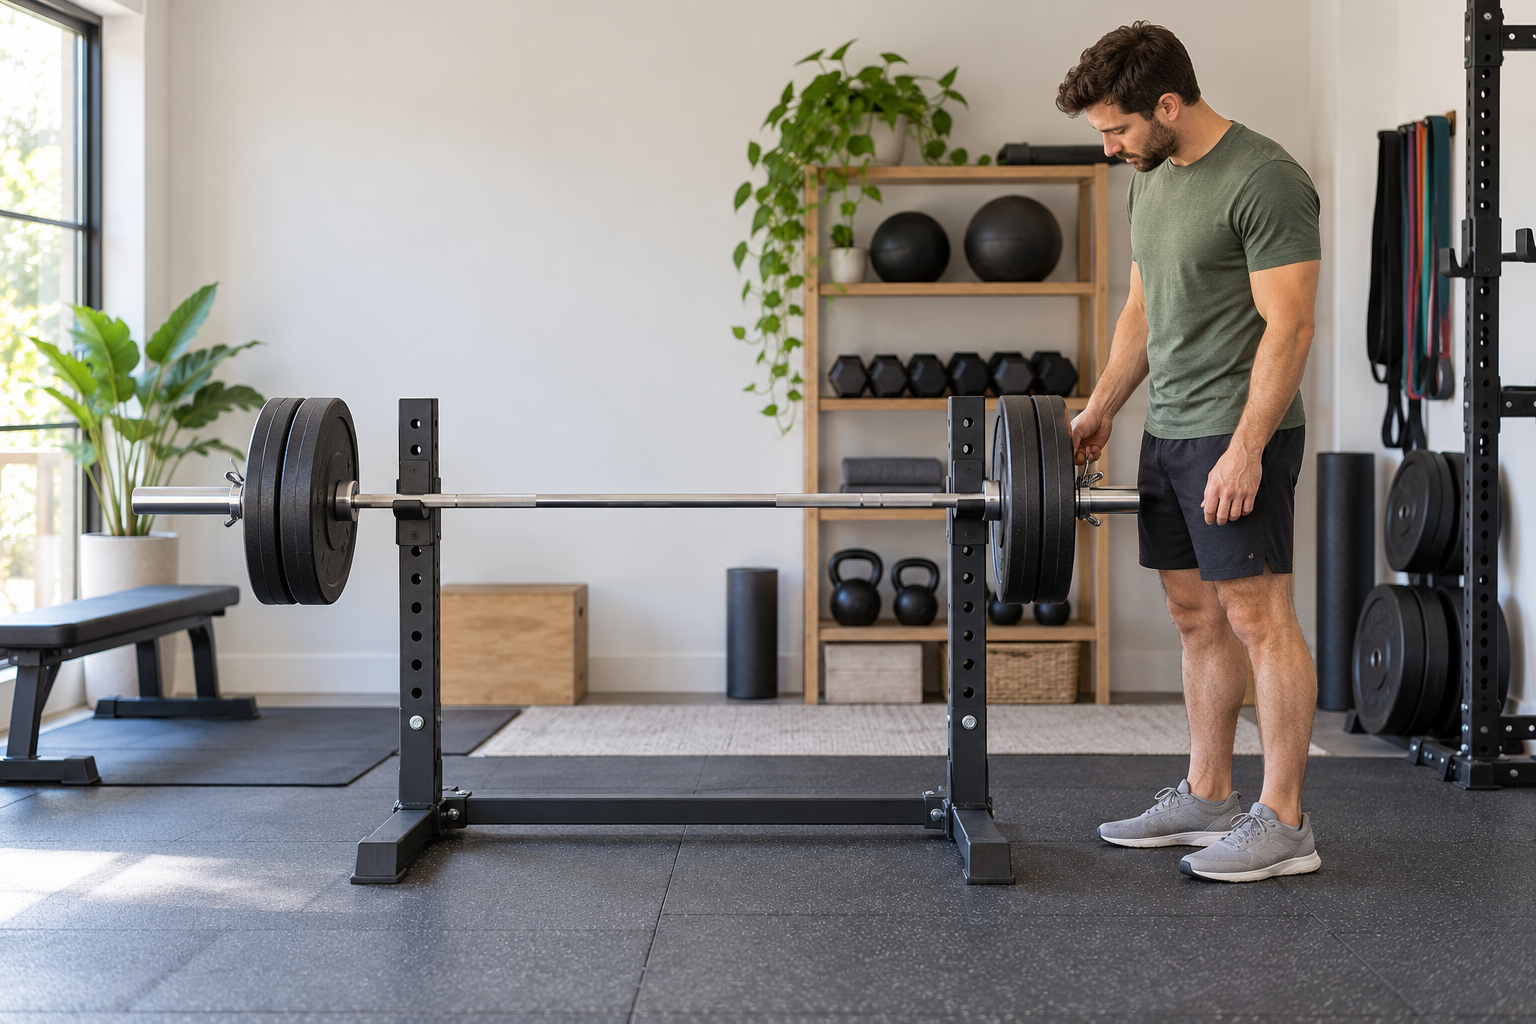
How to Load Barbell Plates Evenly Before a Lift
Quick answer: Load matching plates in the same order on both sleeves, keep the bar stable while loading, and secure the plates with collars that fit the sleeve. Before lifting, compare both sides visually and confirm the bar is centered on its supports. If a plate binds, a collar will not lock, or the bar shifts, stop and correct the setup while it is unloaded.
Even loading is a basic setup check, but it is easy to rush when changing weights between sets. The goal is not to make every side look identical at a glance; it is to make the load balanced and retained according to the bar, plates, collars, and rack instructions. These steps are general setup guidance, not an equipment inspection or a substitute for coaching.
Start with a stable, unloaded bar
Use a rack or another support intended for the bar and exercise. Confirm the bar cannot roll or slide while you work. Keep the loading area clear, and do not load a bar that is perched on an unstable surface or held by another person. If you are using a power rack, follow its manual for positioning the bar and safety equipment.
Check the bar sleeves, plates, and collars before adding weight. Look for visible cracks, bends, damaged edges, loose parts, or heavy corrosion. A visual check cannot prove that equipment is structurally sound, but obvious damage is a reason to stop using the item and contact the maker or a qualified repair professional.
Load the same plate sequence on both sides
- Confirm compatibility. Verify that each plate bore fits the bar sleeve and that the collar is intended for that sleeve diameter. Do not hammer a plate onto a sleeve or modify a plate to make it fit.
- Choose the load from your plan. Use a weight appropriate to your training and ability. If you are unsure about a load or a movement, start lighter and seek qualified instruction.
- Add the first plate to one side, then match it. Keep the bar supported and add the same plate weight to the other side before continuing to heavier plates. This makes imbalance less likely while loading.
- Repeat in the same order. Arrange plates consistently, usually with larger plates nearer the inside and smaller plates outside, as long as the equipment maker’s instructions allow. Keep the plates seated fully against the inner stop or neighboring plate without forcing them.
- Secure both sides. Position a compatible collar outside the plates and engage its locking mechanism as directed by its manufacturer. Check each collar by hand while the bar remains supported.
Matching plate weight on both sides keeps the bar’s load symmetrical. It does not mean you should add plates merely to fill available sleeve space. Never exceed a manufacturer’s stated limit, and do not assume a limit from a product category, appearance, or another model’s listing.
Do a final check before unracking
Stand clear of the bar’s path and compare the two sleeves. Check that the same plate weights are present in the same order, both collars are locked, and no plate is visibly loose or partly caught. Make sure the bar is sitting securely in the rack hooks or supports before you take your grip. If the bar is uneven, unload it in a controlled way while it remains supported, then correct the setup.
During a lift, do not rely on a collar to compensate for a plate that does not fit or an unstable rack. Use a spotter or safety arms where appropriate for the exercise, and set safety equipment according to the rack manual. When you finish, return the bar to its supports before removing plates. Remove plates gradually and keep the bar from tipping as one side becomes lighter; for a two-sided bar, alternating sides helps maintain balance during unloading.
Common setup mistakes
- Loading one side completely first: This can make the bar harder to control and may cause it to tilt on a support. Match sides as you load.
- Mixing plates by appearance alone: Similar colors or shapes do not establish the same weight. Read the markings and check the actual product information.
- Using an incompatible collar: A collar that does not fit the sleeve cannot reliably retain the plates. Verify the diameter and locking instructions.
- Assuming a collar makes any setup safe: Collars do not fix a damaged bar, an overloaded setup, or an unstable rack.
- Dropping or dumping weights without suitable equipment: Follow the plate, floor, bar, and facility instructions. ACE’s coaching guidance distinguishes bumper plates and reinforced platforms from standard iron plates; do not assume a home floor or ordinary plates are designed for drops.
Choosing a bar for your setup
If you are buying a bar, compare the exact sleeve dimensions and weight information with the plates and collars you own. The Waxman 7ft Olympic Barbell product listing describes a 45 lb bar compatible with 2-inch standard weights. That listing is a model-specific reference; it does not verify compatibility for other bars, plates, or collars. Check the current product page and the actual instructions before ordering.

Waxman 7ft Olympic Barbell
The official listing describes a 45 lb bar for 2-inch standard weights. Confirm the current specifications and compatible collars before purchase. View current price and product details.
Price and availability may change; see product page. Checked October 21, 2026; price not independently confirmed because the product page timed out.
Cover illustration: AI-generated general setup illustration, not a product photograph, inspection, or test result.
Bottom line
Support the unloaded bar, match plates side to side, use collars designed for the exact sleeve, and inspect the setup before unracking. If fit, condition, loading limits, or the equipment instructions are unclear, pause and get confirmation rather than forcing a part or guessing.
Leave a Reply