
No products in the cart.
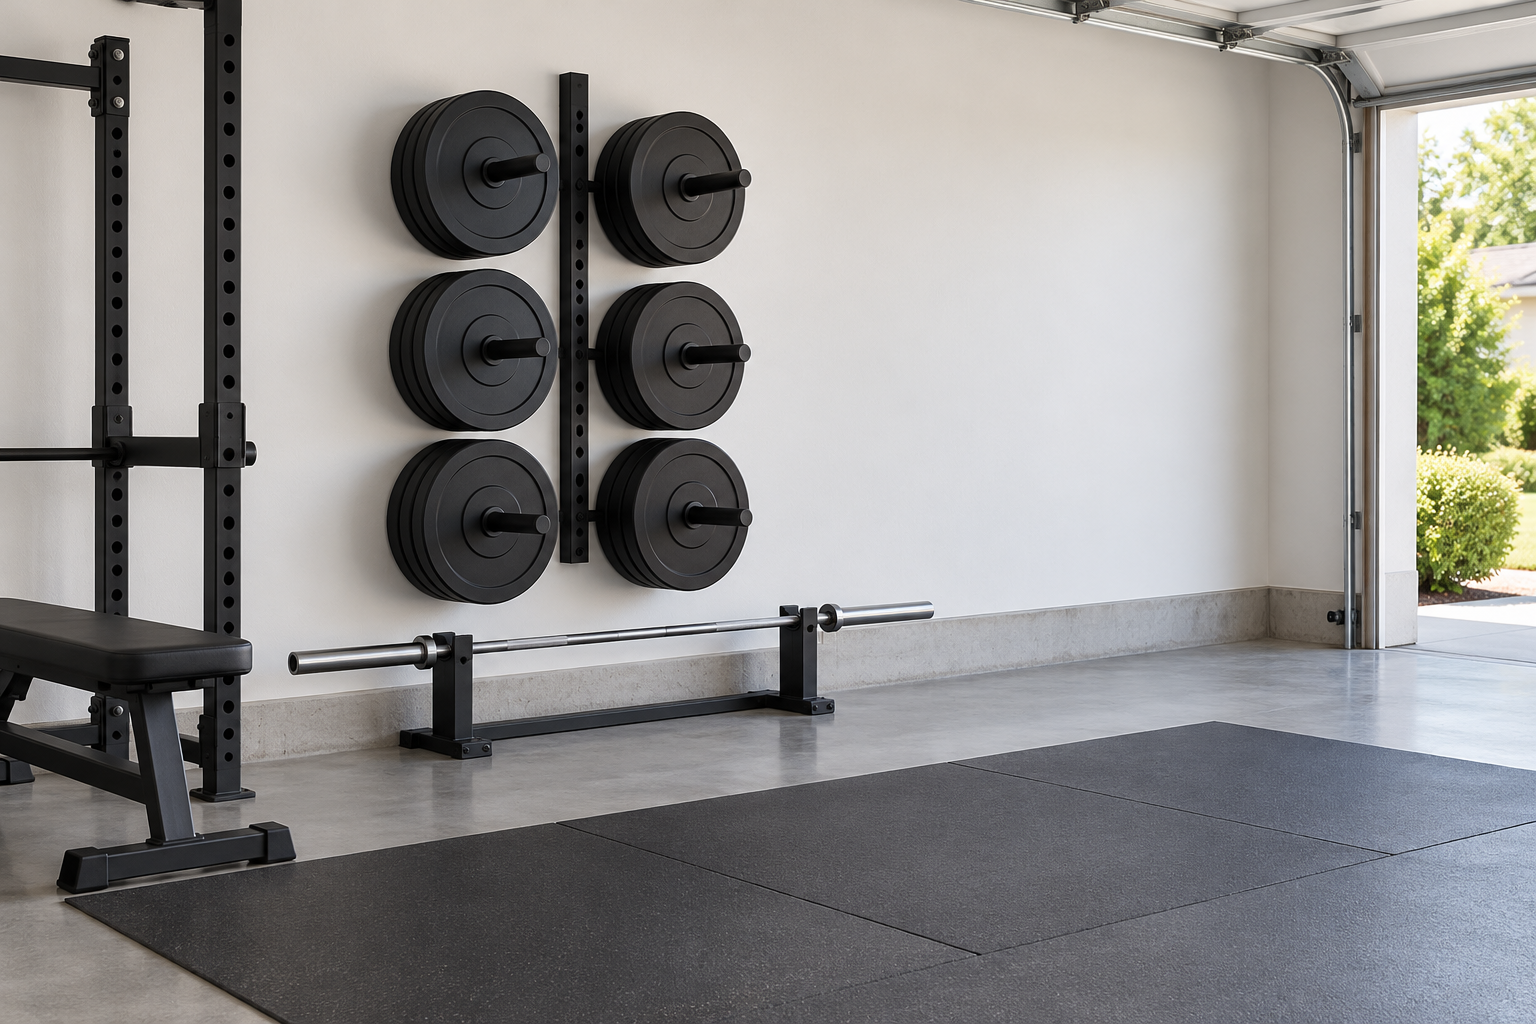
How to Plan Space Around a Wall-Mounted Weight Plate Rack
Illustration note: The AI-generated cover is conceptual artwork, not a Waxman product photograph or a record of tested installation.
Short answer: Plan a wall-mounted plate rack around the plates you actually own, the path you use to load and unload them, and the space needed for your workout. Mark the rack footprint and a clear handling area before buying or installing anything. Confirm plate fit and mounting requirements from the exact product instructions; do not infer a safe load or suitable wall from a product photo.
A rack can make a small gym easier to navigate, but only when plates can be reached without blocking a doorway, a lifting area, or another piece of equipment. This guide covers layout decisions. It does not provide structural engineering or installation instructions. If you cannot identify the wall construction or follow the manufacturer’s mounting directions, ask a qualified installer before loading a wall-mounted rack.
Start with your plate inventory
List each plate by type, diameter or size if known, and how often you use it. Measure the usable space where plates sit and compare it with the exact rack dimensions and compatibility statement. Waxman’s wall-mounted plate storage listing says it fits 1-inch and 2-inch plates. That is a fit claim; it does not establish that every plate shape, thickness, or quantity will work, nor does the checked listing provide a load rating. Check the current product page and instructions for your exact order before deciding.
Sort the plates you reach for most often from those used occasionally. The goal is a sequence that makes sense to you and avoids lifting a heavy plate over or around another one. Do not place plates on a storage pin until you have verified that the plate bore and pin are compatible and that the manufacturer permits the intended arrangement.
Map the approach and removal space
Use painter’s tape on the floor to mark the rack’s projected footprint and the space a person needs to stand while taking a plate off. Then test the route from that spot to the barbell or machine. Keep the route clear of door swings, stored boxes, cords, and the edge of a treadmill or bench. A tight fit on paper may become awkward when a plate is held in both hands.
- Measure the distance from the proposed rack to the barbell’s loading end.
- Check that plates can be carried without twisting around furniture or stepping over equipment.
- Leave the workout movement area clear; storage should not become a trip hazard beside a squat, press, or lifting station.
- Consider who uses the room and whether the lowest plate can be reached without bending into another person’s path.
These are planning checks, not universal clearance dimensions. Follow the equipment maker’s specified clearances and local building requirements where applicable. If multiple users share the space, ask them to walk the planned route before installation.
Check the wall and instructions before drilling
A wall surface alone does not tell you what is behind it. Drywall anchors, a magnet, or a stud-finder reading should not be treated as proof that a particular wall can carry a loaded rack. Read the rack’s instructions for the required substrate, fasteners, spacing, and installation method. Match those directions to the actual wall and use only the specified hardware or an approved alternative.
Do not improvise by substituting fasteners, omitting mounting points, or attaching to a hollow or damaged area because the rack appears lightweight when empty. If the directions do not cover your wall type, or you cannot confidently locate and assess the required framing, stop and consult a qualified professional. Simpson Strong-Tie’s general anchoring guidance likewise says to follow the product’s installation instructions and not exceed published allowable loads; it does not rate this rack or your wall.
Use the product listing as a check, not a load promise
The Waxman Weight Plate Storage Rack listing describes a wall-mounted holder and states fit for 1-inch and 2-inch plates. The page checked for this article showed $109.00 USD on October 30, 2026. The checked product details did not provide a load rating, so this article does not recommend a maximum plate count or weight. Verify the current price, compatibility details, included hardware, and instructions on the product page before purchase; price and availability may change.

Waxman Weight Plate Storage Rack
Listing fit statement: 1-inch and 2-inch plates. No load rating was found in the checked product details. Current listing price checked October 30, 2026: $109.00 USD. Price and availability may change.
Make the final decision before loading
Before putting plates on the rack, compare the installed result with the instructions: mounting points, hardware, wall condition, and any stated load limit. Check that each plate is fully supported and does not interfere with another plate or nearby equipment. If the rack shifts, the wall cracks, a fastener loosens, or the setup differs from the instructions, remove the load and resolve the issue before using it.
For a renter, shared garage, masonry wall, metal-stud wall, or uncertain framing, get permission and qualified advice rather than treating a generic mounting method as universal. The safest layout is one you can verify against the exact rack instructions and the construction of the wall.
Quick planning checklist
- Inventory plates and confirm bore-to-pin fit.
- Measure rack dimensions and tape out the footprint plus your handling route.
- Keep doors, cords, workout paths, and other equipment unobstructed.
- Read the exact mounting instructions and confirm the wall meets them.
- Do not assume a load rating that the manufacturer has not published.
Bottom line: Choose the location by plate compatibility and a clear route, then verify the wall and hardware against the manufacturer’s instructions. Layout planning cannot substitute for a confirmed mounting method or load limit.
Leave a Reply