
No products in the cart.

How to Set Leg Press Safety Limiters Before a Workout
Quick answer: Set a leg press machine’s safety limiters before adding working weight, using the exact machine manual to identify the adjustment and lock position. Check that each stop is fully engaged and undamaged, then test the movement with no or minimal load only if the manufacturer’s instructions allow it. There is no universal numbered setting: body position, machine geometry, and the exercise mode affect where the carriage should stop. If you cannot verify the stops or how to release the carriage, do not load the machine.
Cover image: AI-generated illustration for explanation; it is not a product photograph or a tested setup.
Know what the limiter does
A safety stop limits how far a moving carriage can travel. It is one layer of protection; it does not replace correct machine setup, controlled movement, or the manufacturer’s lockout procedure. Leg press and hack squat modes can use different starting positions and carriage paths, even on a combination machine. A position that catches the carriage for one mode may not be the intended setting for the other.
The WAXMAN Leg Press Hack Squat Machine listing describes three-level adjustable safety limiters and adjustable lockout positions. That confirms the product has adjustable stops, but it does not give a numbered setting for every user or explain the full adjustment procedure on the product page. Use the manual supplied with your machine or ask WAXMAN support to confirm the exact setup before exercising.
Set the machine up before loading plates
- Identify the exact model and exercise mode. Check the machine’s identification label and the instructions for leg press versus hack squat. Follow the prescribed seat/back-pad, handle, and carriage-lock settings for that mode.
- Inspect the stops and moving parts. Look for bent, loose, cracked, worn, or missing stop components, pins, catches, or hardware. Make sure the frame is stable and the carriage moves without binding. Do not use damaged equipment.
- Adjust the limiters as the manual shows. Keep the carriage supported and unloaded as directed. Use only the intended adjustment points; do not drill holes, add improvised pins, or use a stop that does not match the machine.
- Confirm full engagement. Visually check that each pin or stop is seated in its intended position and cannot slide free. If the machine uses a separate lockout handle or carriage catch, learn its engagement and release motion from the manual before moving the carriage.
- Test the range cautiously. If the manufacturer permits, move the carriage slowly with no or minimal load to confirm that the stop catches at the intended point and allows a controlled return. Recheck the setting after changing exercise mode or user position.
TRUE Fitness’ XFW-7800 manual provides a useful cross-model example: it says to determine stop-rod placement with no or minimal weight and verify the carriage catches. That is guidance for the TRUE XFW-7800 only; it is not a substitute for WAXMAN’s instructions or a setting recommendation for another machine.
Choose a stopping point for control, not depth
The limiter should prevent the carriage from traveling beyond a position you can control, while leaving the range of motion prescribed for your exercise and machine. Do not set the stop by copying another person’s notch, a video, or a generic “90-degree knee” rule. Limb length, seat angle, foot placement, mobility, and the specific machine all change how the same stop position feels.
Start with a conservative range and light resistance. Keep your back and pelvis supported as intended by the manual, move smoothly, and stop if you feel pain, numbness, instability, or an unexpected impact against the stop. Do not use a safety limiter to force a deeper position. If you are unsure what range is appropriate for you, ask a qualified exercise professional; if movement causes pain or you have a health condition, seek advice from a qualified clinician.
Before every session
- Check that the limiter setting matches the exercise mode and your machine setup.
- Confirm stops, pins, catches, and locking handles are undamaged and fully engaged.
- Test the lock and release sequence without working weight if the manual instructs you to do so.
- Load plates evenly and remain within the machine’s stated capacity; use only the specified plate size and attachment points.
- Keep children and other people away from the carriage path while adjusting or exercising.
If a stop will not seat, the carriage bypasses it, or the lockout operation is unclear, stop using the equipment and contact the manufacturer or a qualified service technician. A spotter cannot make an unknown or malfunctioning stop safe. For a separate leg-press fit issue, see our guide to why heels may lift during a leg press and how to reset your setup.
Sources: the WAXMAN product listing confirms its three-level adjustable limiters; the TRUE Fitness XFW-7800 owner’s manual illustrates stop inspection and cautious testing for that specific model. Always use the manual for your exact machine.
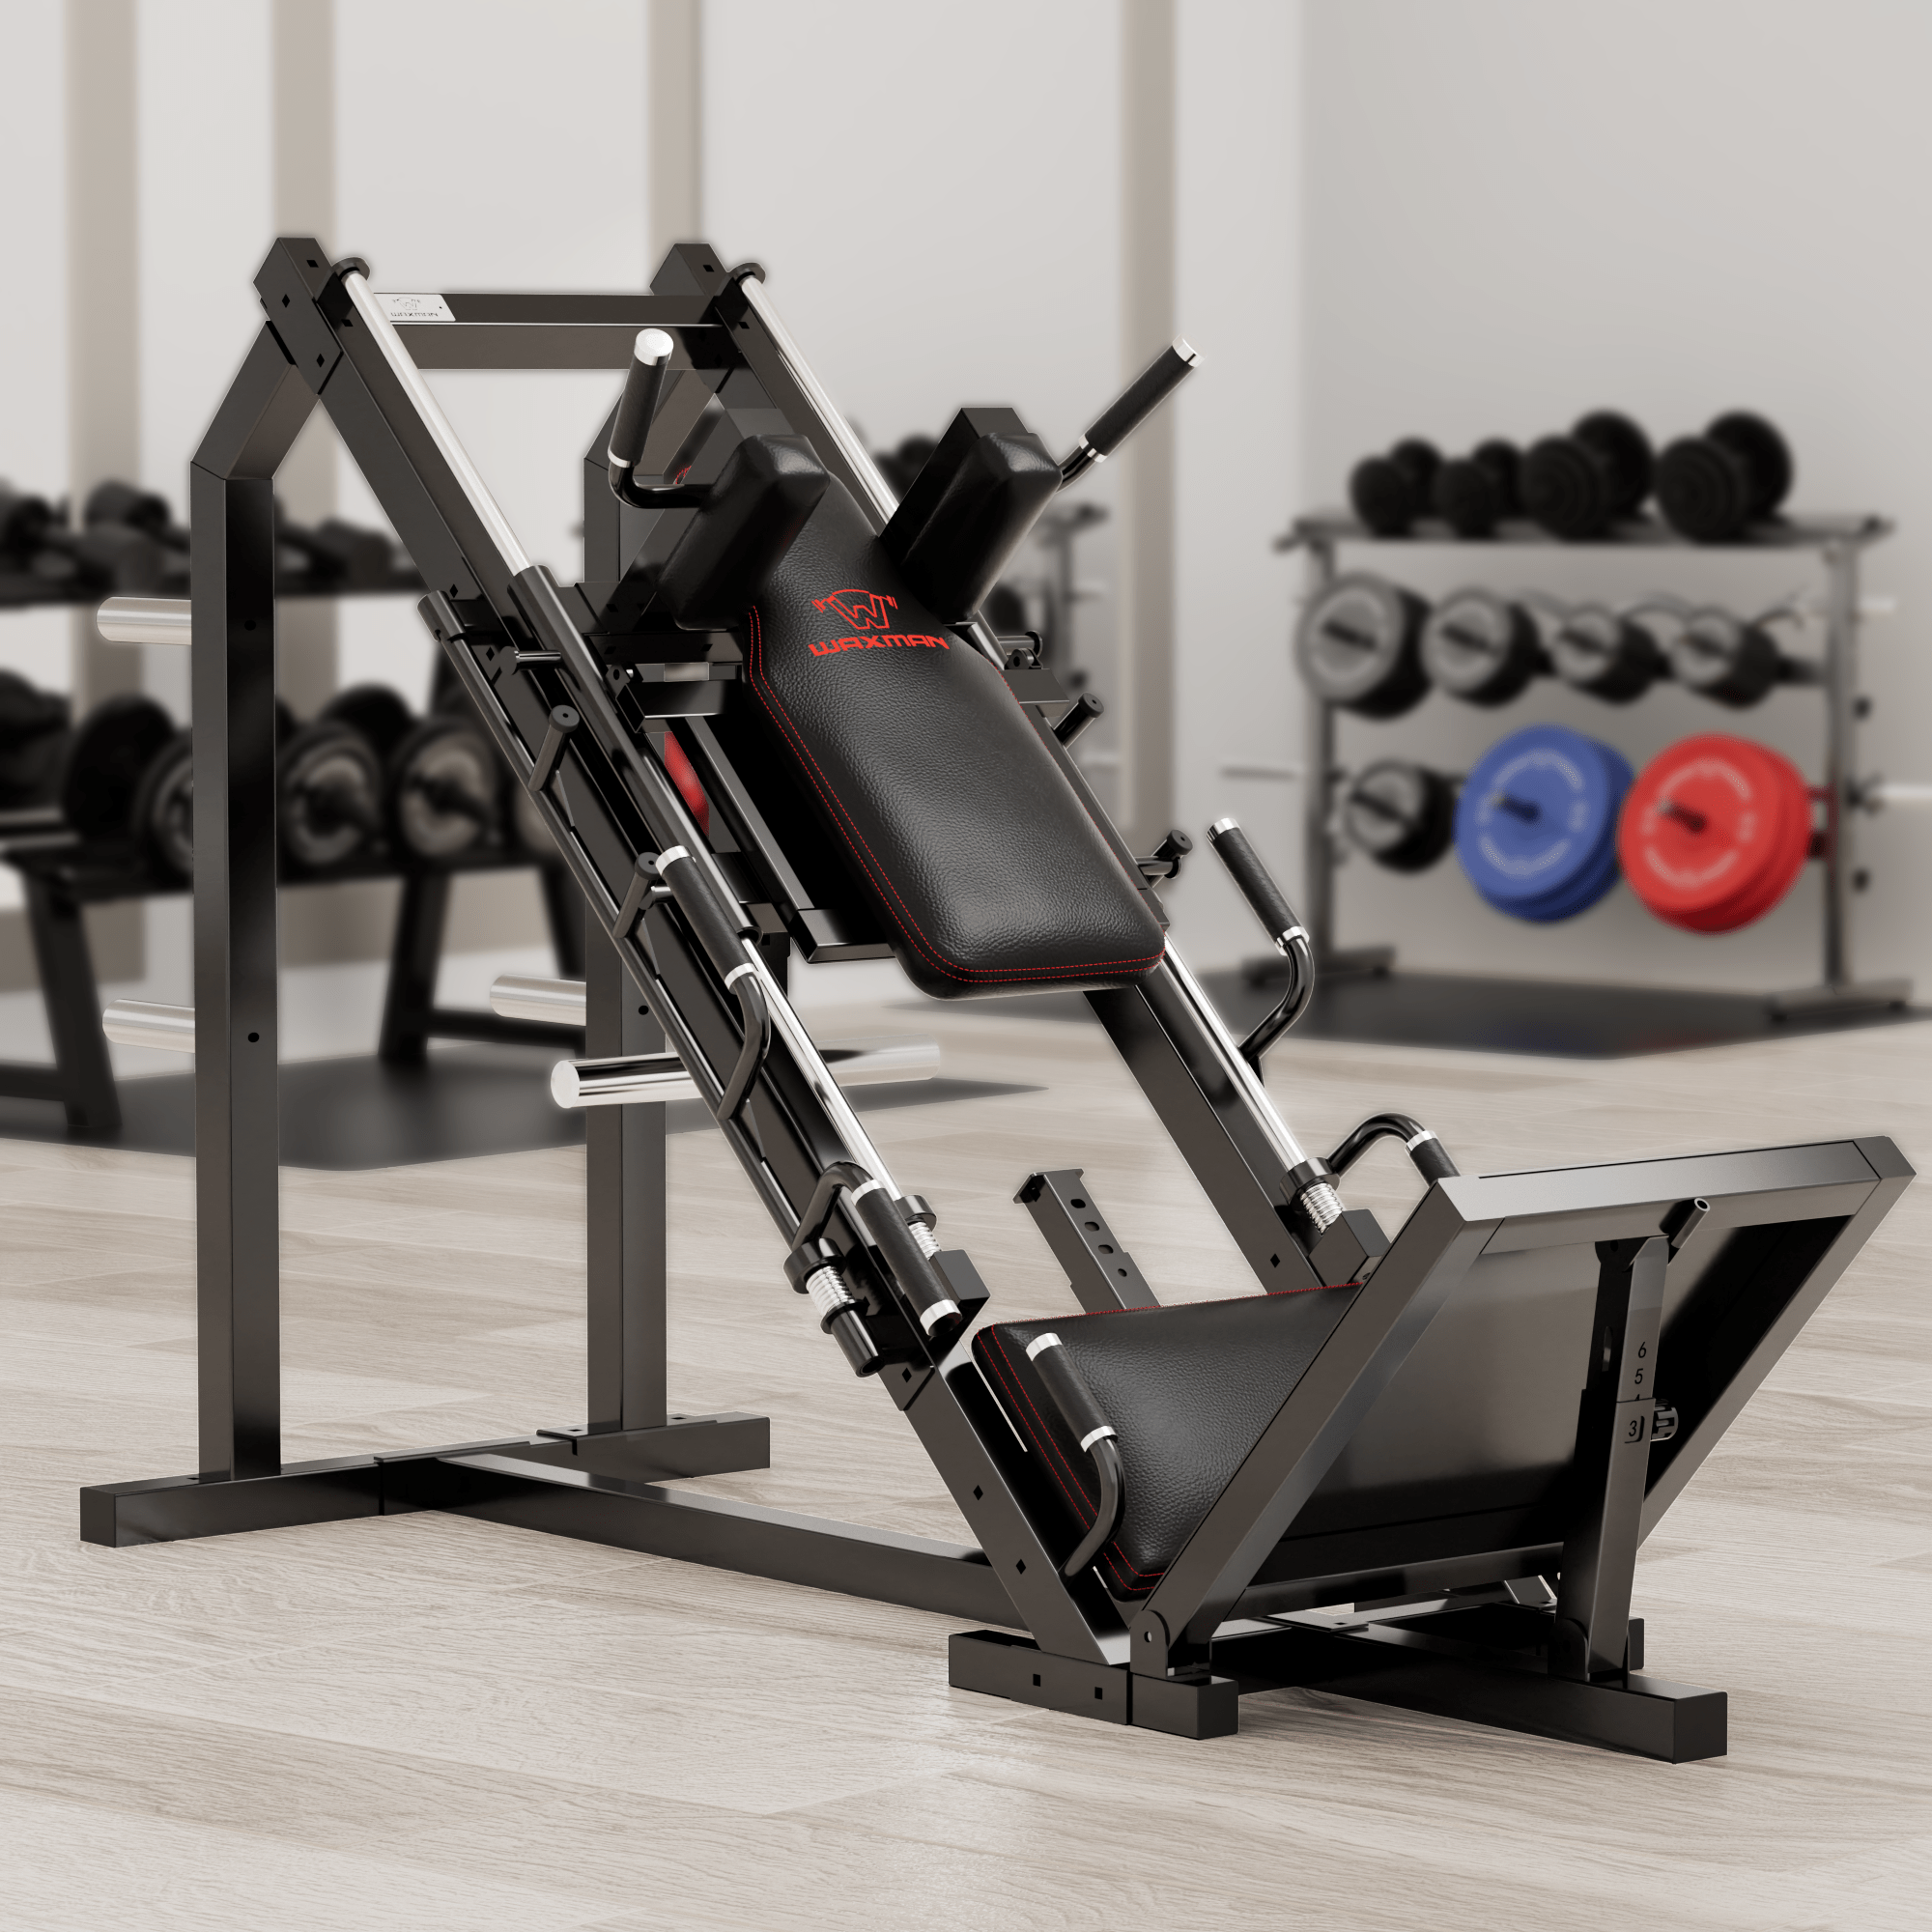
WAXMAN Leg Press Hack Squat Machine
The current listing describes three-level adjustable safety limiters, adjustable lockout positions, and plate-loaded leg press/hack squat modes. Use the exact equipment manual for operation and adjustment.
$799 USD (checked October 30, 2026). Price and availability may change; see the product page for current details.
Bottom line
Safety limiters only help when they are appropriate to the exercise, fully engaged, and verified before loading. Follow the exact manufacturer’s procedure, test cautiously as directed, and stop if anything is damaged or unclear. Do not guess a setting or rely on another brand’s adjustment steps.
Leave a Reply