
No products in the cart.
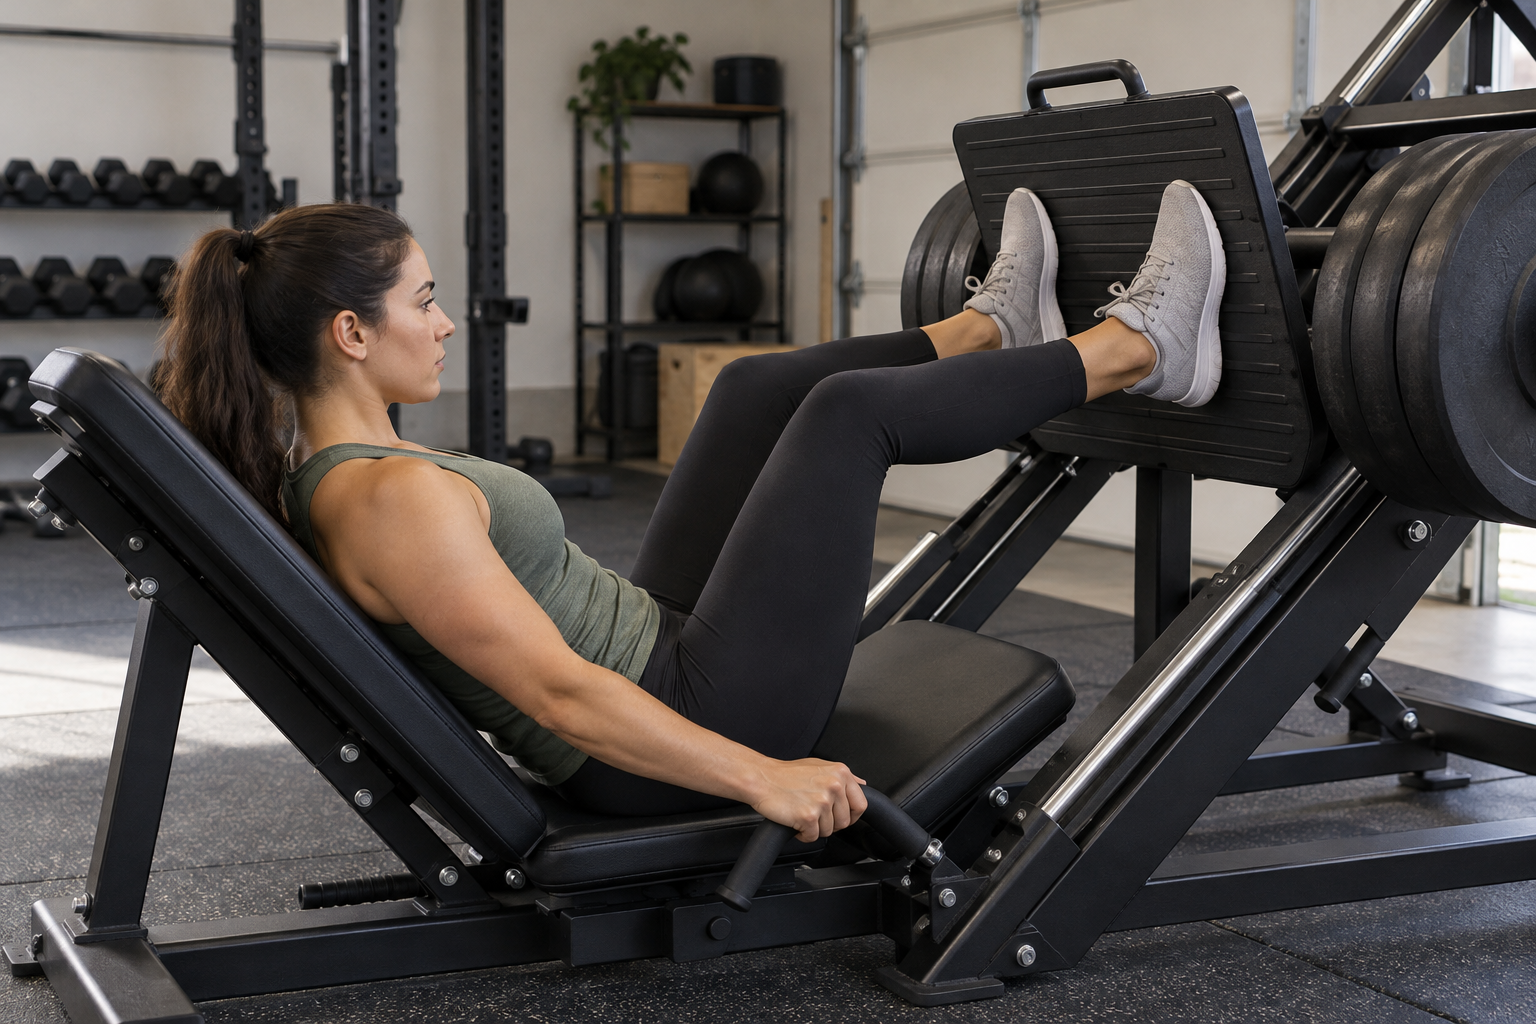
Why Do Your Heels Lift on the Leg Press? Adjust Your Setup First
Quick answer: If your heels rise during a leg press, stop the repetition and reduce the range or load while you reset. Check that your whole foot can stay supported, your seat or backrest lets your hips remain against the pad, and the machine’s starting position suits your body. Do not force a deeper bend or add a heel wedge just to keep the sled moving. Machine geometry and individual mobility differ, so use the equipment manual and seek a qualified clinician’s advice if movement causes pain.
What heel lift can tell you
A heel that peels away from the footplate is a useful cue to pause, but it does not identify one single problem. The seat may be too close, the sled may be descending farther than you can control, your foot may be placed too low for the machine’s path, or your ankle may not comfortably move through the required range. A heavy load can also make it harder to maintain your position. Treat the lift as information about the current setup—not as a diagnosis.
Leg-press designs vary: some have a moving seat, some a moving carriage, and some combine press and hack-squat positions. A setup that works on one machine may not transfer to another. Follow the manufacturer’s instructions for adjusting the machine and setting its safety stops before loading it.
Reset the machine before changing your stance
- Unload or secure the carriage. Follow the machine’s instructions for engaging the lock or safety stops. Do not adjust a loaded machine if its design does not make that safe.
- Set the backrest or seat. Start with your back and pelvis supported. At the bottom of a comfortable test repetition, your hips should not roll away from the pad and your lower back should not round to gain extra depth.
- Place the whole foot on the platform. Begin with feet around hip-width apart and toes generally forward, using a stance that feels natural. Keep heels and forefeet in contact. Do not place your feet so low that your heels are forced toward the platform edge.
- Choose a smaller range. With little or no added resistance, lower the carriage only as far as you can keep your heels down and torso supported. Use the machine’s safety limiters if provided.
- Reintroduce a manageable load. Move smoothly and stop before your heel rises, your hips shift, or you feel pain. If the cue returns, shorten the range or reduce resistance rather than pushing through it.
Check the three common setup issues
Foot position
Try a modest adjustment so your whole sole is supported, changing one variable at a time. There is no universal “high-foot” or “low-foot” placement that fixes every heel lift. A very wide stance or a dramatic toe angle is not necessary to solve the basic contact problem.
Depth and back support
More depth is not automatically better. The American Council on Exercise’s seated-leg-press guide advises keeping the heels on the plate, avoiding knee hyperextension, and not allowing the buttocks to lift or the lower back to round. Use these as general technique cues, then defer to the instructions for your specific machine. If your position changes before the carriage reaches its lowest point, stop the descent there.
Load and machine fit
Reduce resistance until you can control both the lowering and pressing phases. If the seat adjustment cannot provide a comfortable position with full-foot contact, that machine may not fit your current proportions or mobility. Do not improvise by placing loose plates, blocks, or other objects under your heels unless a qualified professional has specifically advised it and the machine maker permits it.
When to stop and get guidance
Stop if the movement causes pain, numbness, unusual pressure, or loss of control. The U.S. Department of Veterans Affairs’ leg-press guidance says to keep the heels flat, avoid locking the knees, and stop exercise that causes pain; it recommends discussing symptoms with a physical therapist or doctor. If you are rehabbing an injury, have persistent symptoms, or have been given exercise restrictions, follow your clinician’s instructions rather than using a general online guide.
Before a working set, confirm that the machine is stable, its stops are engaged as intended, and you understand how to release the carriage. Never rely on the illustration here to identify a machine’s controls. Product designs differ, and the manual is the authority for that model.
Product context
The WAXMAN Leg Press Hack Squat Machine listing describes a 2-in-1 plate-loaded machine with three-level adjustable safety limiters. That description is product-listing information, not a substitute for its manual or a guarantee that it fits every user.
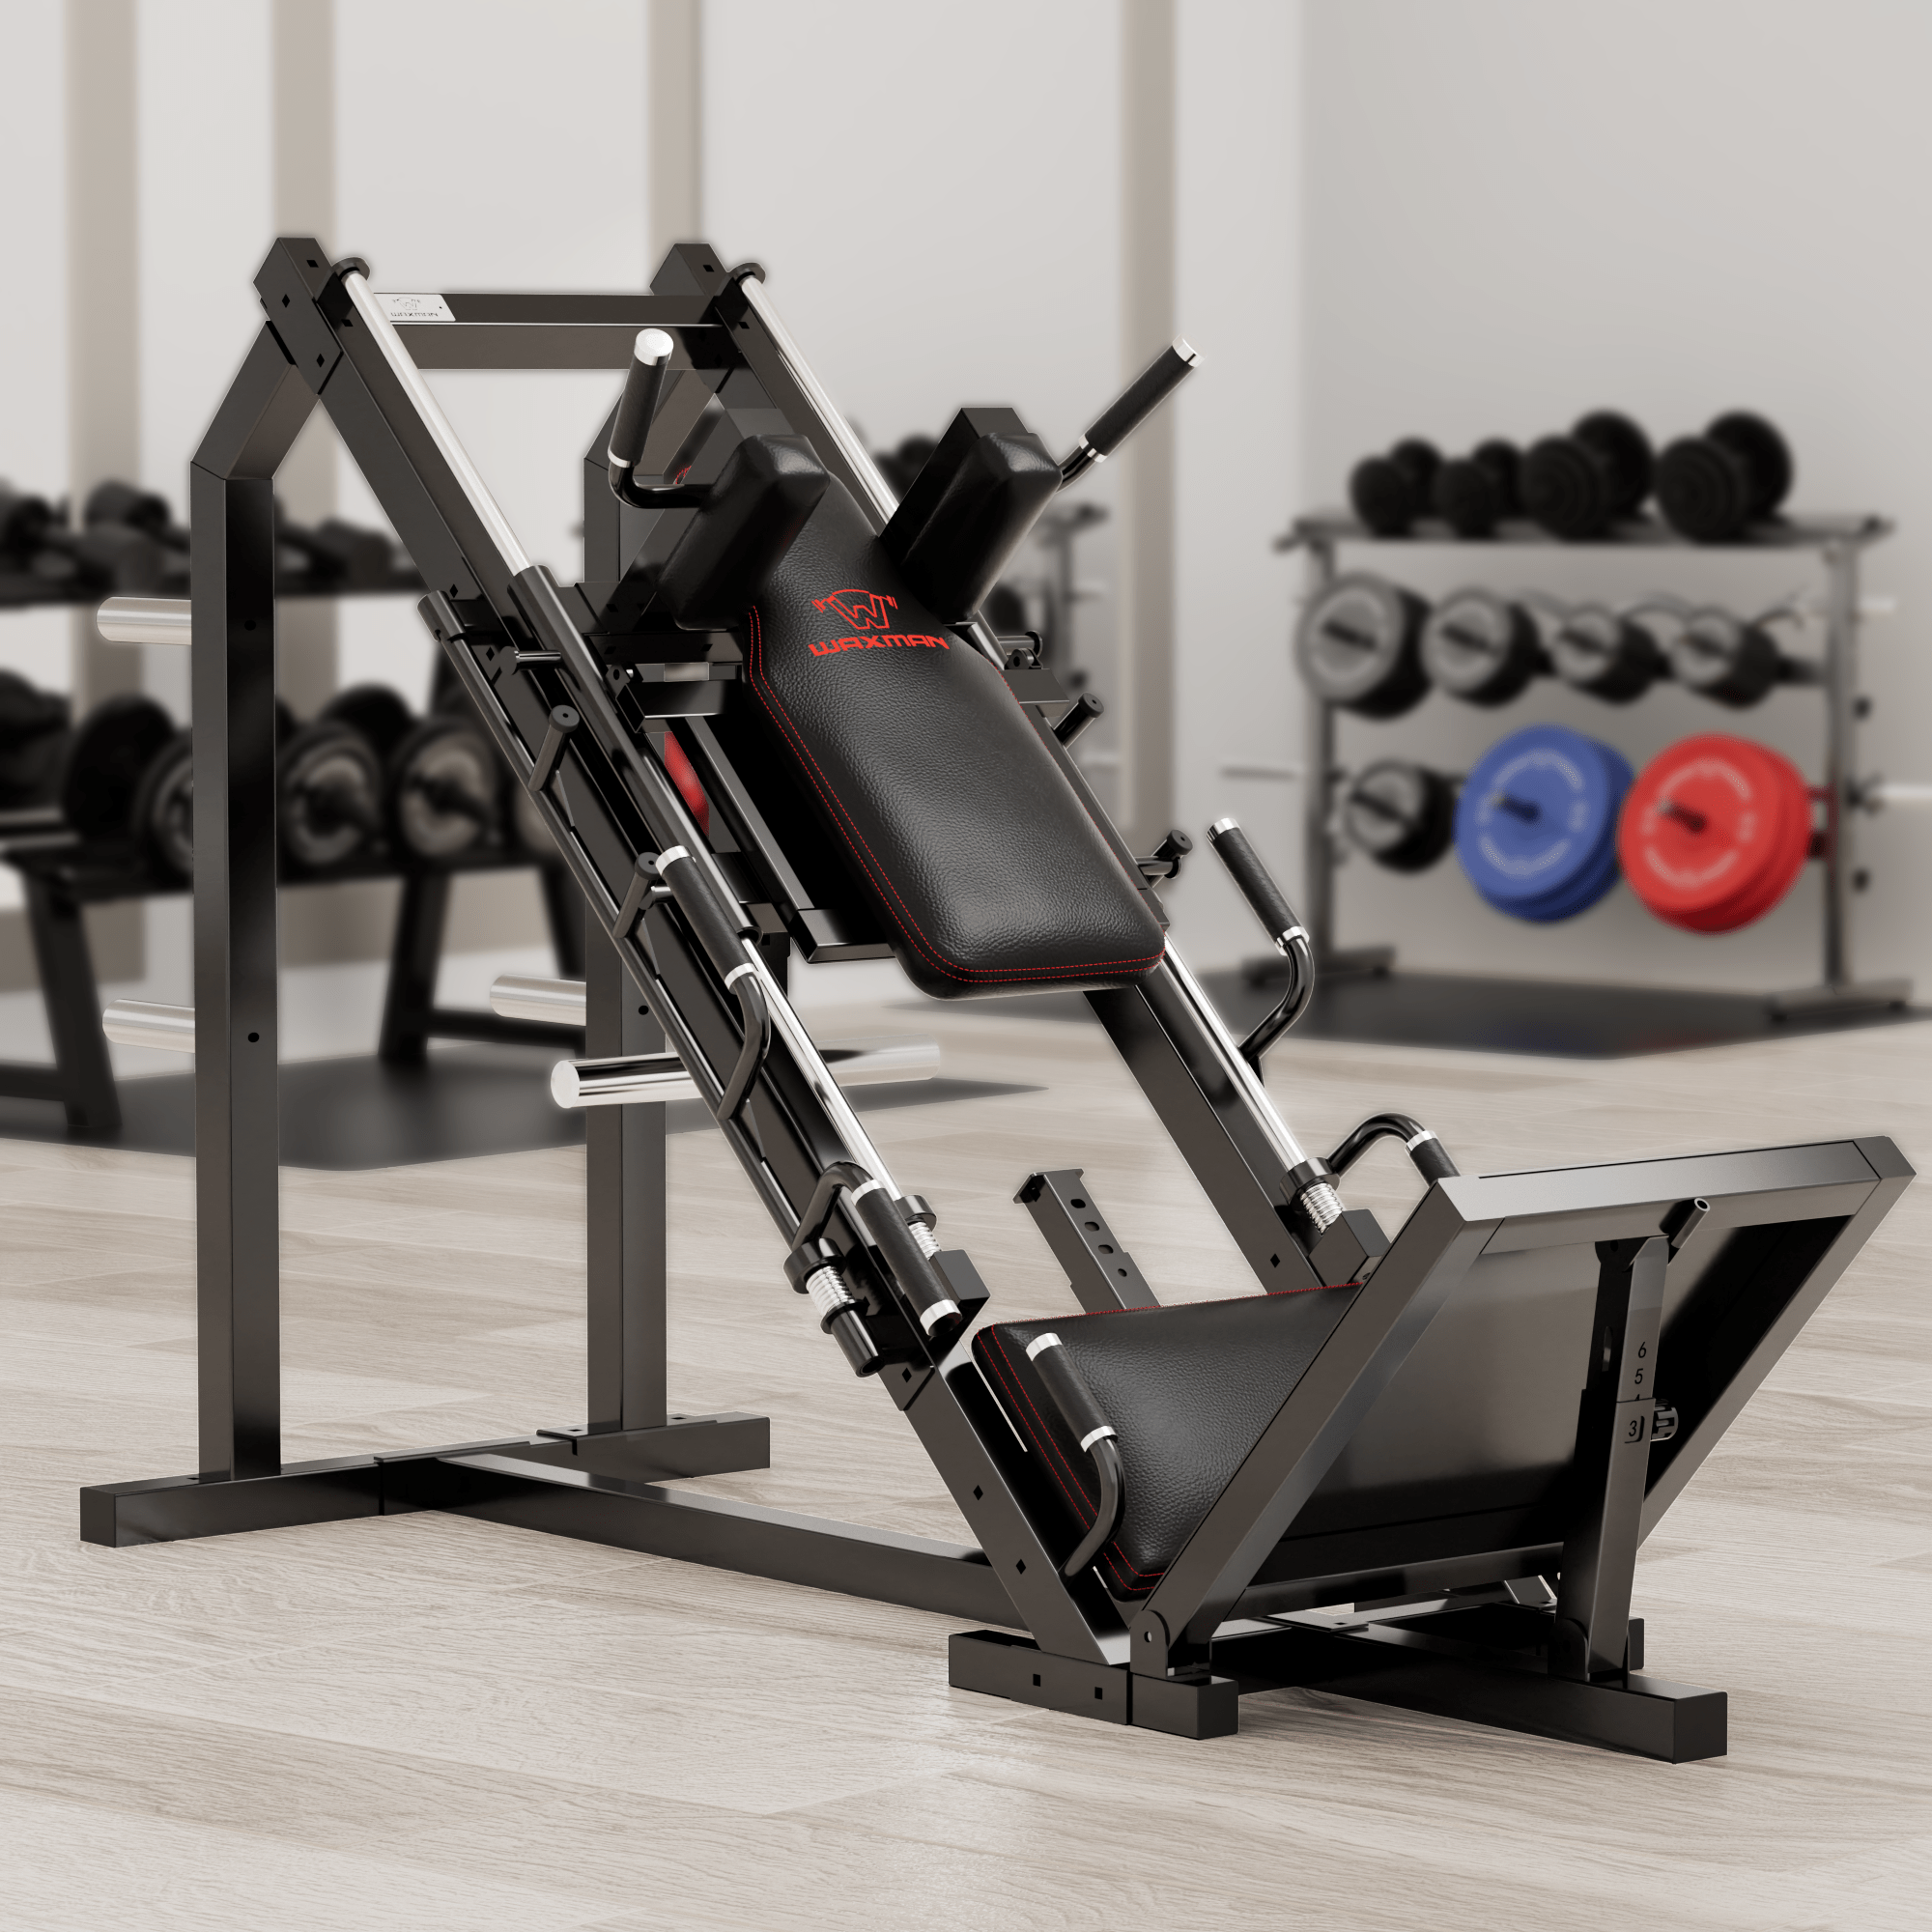
WAXMAN Leg Press Hack Squat Machine
Listing details: three-level safety limiters; assembled dimensions 77.5 × 38.3 × 57.4 inches. Confirm fit, setup, and operating instructions on the product page and in the manual.
$799.00 USD (price checked October 30, 2026). Price and availability may change; see product page.
Bottom line
Keep the whole foot supported, adjust the seat and safety stops according to the manual, and use only a range where your hips stay supported and the movement remains controlled. Heel lift is a reason to reset—not a reason to force the next repetition. The advice here is general education, not an individualized exercise prescription.
Pingback: How to Set Leg Press Safety Limiters Before a Workout - waxman