
No products in the cart.
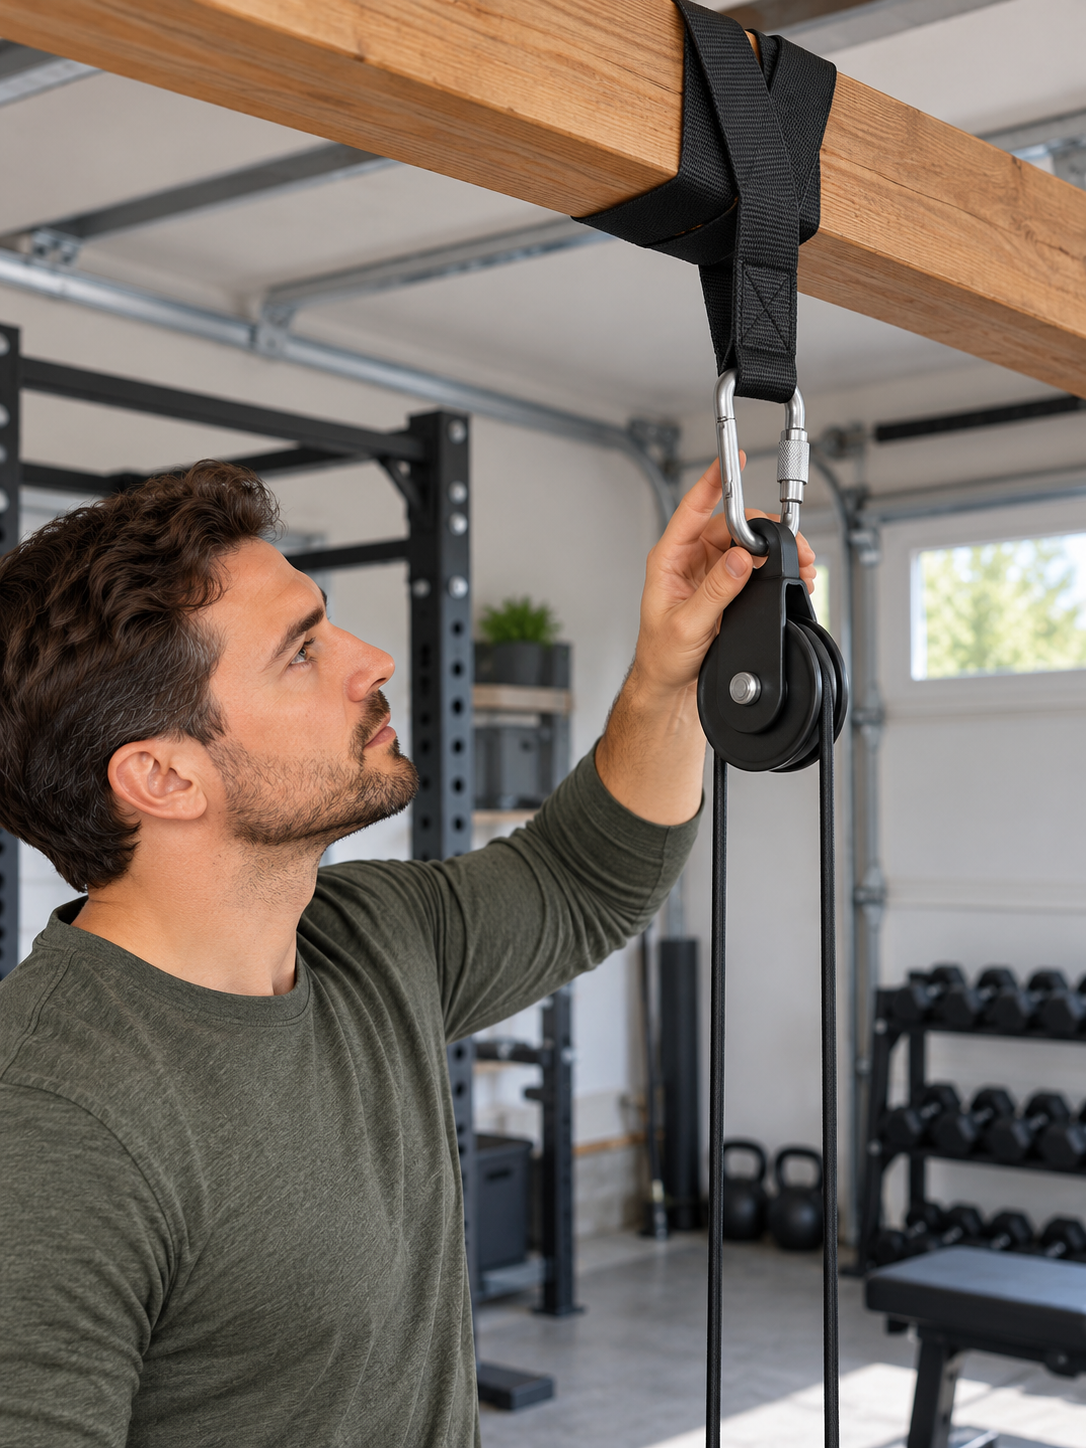
How to Check a Home Gym Pulley Anchor Before Training

Before using a home-gym pulley, verify that its attachment point is approved for the intended exercise and load, then inspect every connection from the anchor to the handle. A beam, pull-up bar, or power cage that looks sturdy is not automatically a rated anchor. If you cannot confirm the structure and attachment are suitable, do not load the cable; ask the equipment maker or a qualified professional.
Why the anchor matters
A pulley redirects force through a strap, connector, cable, and attachment point. Each part must be compatible and installed as its maker specifies. A visible crack, shifting connection, sharp edge, loose fastener, damaged webbing, or frayed cable is a reason to stop. Even an intact strap cannot make an unverified ceiling joist or door frame safe.
For example, the Waxman Fitness LAT and Lift Pulley System listing describes 70-inch and 90-inch cable options and says the system can connect to a power cage, pull-up bar, beam, or another place where its hanging strap can be installed. The listing does not provide a structural rating for your particular beam or home framing. Treat the product description as setup context, not approval of an unknown building attachment.
Check the setup before connecting a load
- Identify the exact parts. Match the pulley, strap, cable, connector, and handles to their product instructions. Do not mix a substitute strap or connector unless the manufacturer confirms it is compatible.
- Confirm the anchor is an approved attachment point. Use a designated power-cage attachment or a structural member that has been assessed for this use. Do not attach to trim, drywall, a suspended ceiling, a door handle, or an unknown pipe. If the structure or its installation is uncertain, stop and get qualified advice.
- Read the installation instructions. Follow the maker’s directions for wrapping, routing, orientation, and closure of the strap. The system listing alone does not give enough information to approve every beam shape, edge, or surface.
- Inspect contact surfaces and hardware. Look for sharp edges that could cut webbing, burrs that could damage a cable, loose bolts, bent metal, worn stitching, abrasion, corrosion, or a connector gate that does not close correctly. Remove damaged equipment from service.
- Check alignment and clearance. With no weight attached, confirm the pulley can move through its intended path without rubbing an edge, snagging, or pulling the strap sideways. Keep the cable away from people, sharp corners, and anything that could catch it.
- Make a controlled, unloaded movement check. Stand clear of the line of pull and move the handle gently without plates. Watch the anchor and connectors for movement, slipping, unusual noise, or binding. This check can reveal an obvious setup problem; it cannot certify the structure or establish a safe working load.
Load only after every link is confirmed
Use only the loading method and attachments described by the equipment maker. Add weight conservatively and keep bystanders out of the cable path. Stop immediately if the anchor shifts, a fastener loosens, the strap creeps, the cable scrapes, or a connector deforms. Do not test an uncertain anchor by hanging from it, jerking the cable, or adding a heavy plate.
A product’s stated maximum load applies only under its specified conditions and does not increase the capacity of the home structure or a separately sourced connector. If the product instructions do not state a needed limit, contact the maker before using the setup. Never infer a rating from the apparent thickness of a beam or from a product photograph.
When to stop and get help
Stop if you cannot identify the structural member, cannot follow the installation directions, see damage, or cannot keep the strap and cable aligned. A qualified professional can assess building structure; the equipment manufacturer can clarify approved components, installation details, and product limits. Those are different questions, and both may need an answer.
For a compatible pulley system, review the Waxman Fitness LAT and Lift Pulley System listing for current product details. As checked October 31, 2026, the page listed it at $43.00 USD and described two cable lengths and supported attachment types. Price and availability may change; see the product page.
Product details

Waxman Fitness LAT and Lift Pulley System
Listing options: 70-inch or 90-inch cable. The listing says its loading pin fits standard or Olympic plates and gives a maximum load of 280 lb; follow the complete product instructions and do not treat that figure as an anchor or building rating.
$43.00 USD (checked October 31, 2026). Price and availability may change; see product page.
This article provides general setup checks, not a structural engineering assessment or a substitute for the equipment instructions.
Leave a Reply