
No products in the cart.
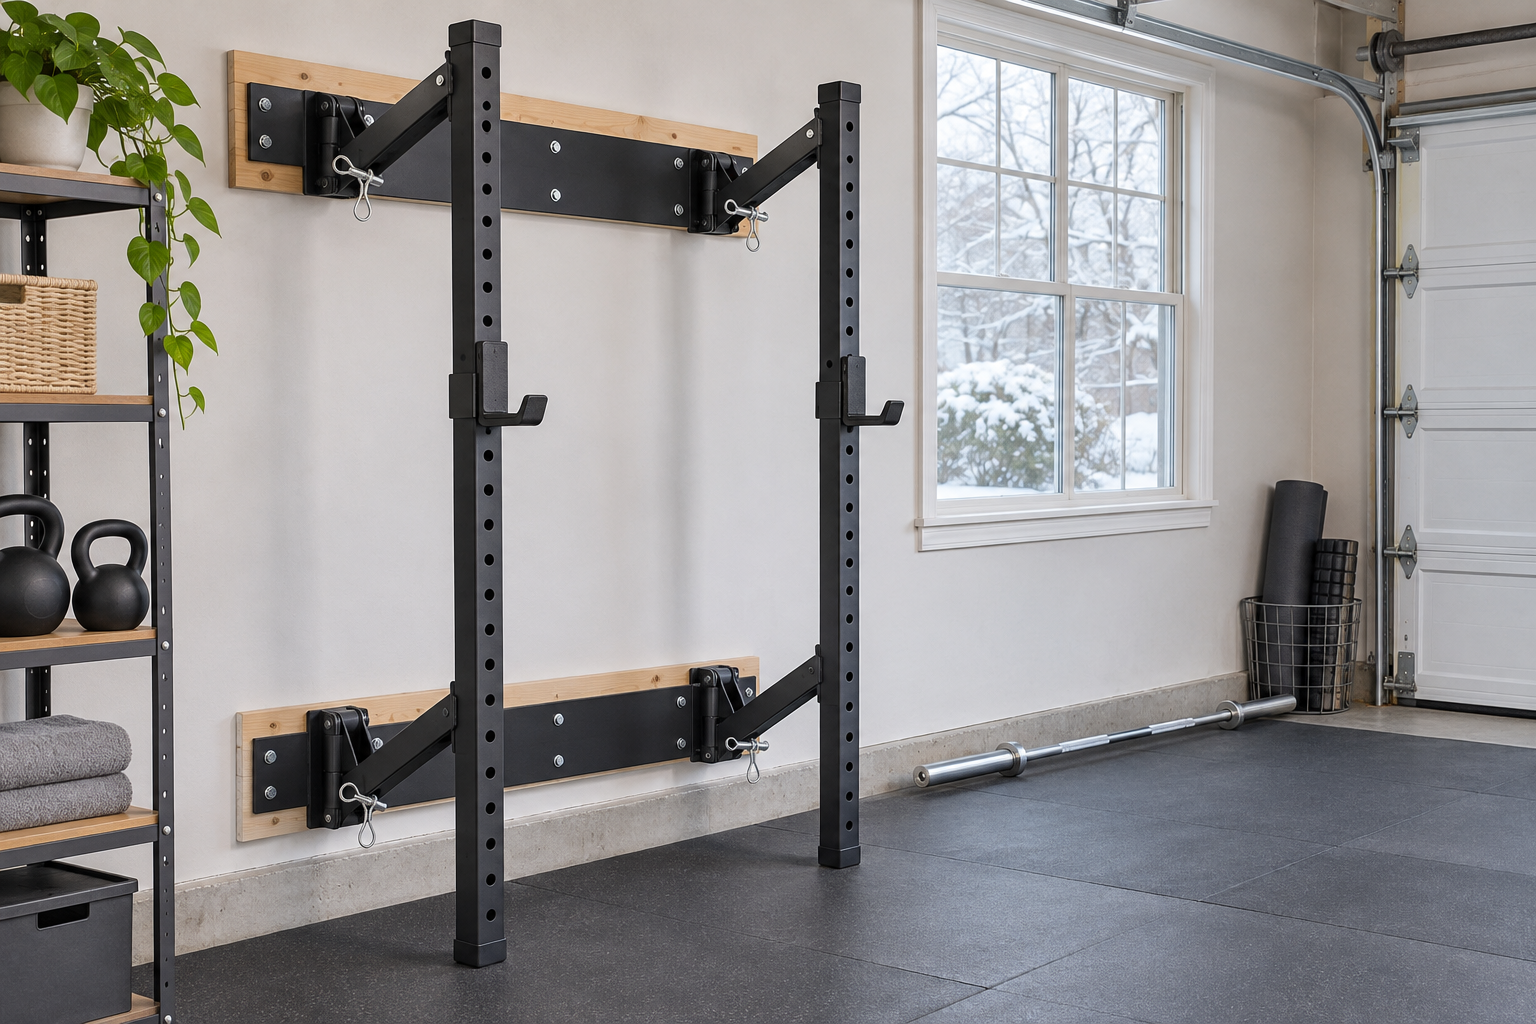
Before Your First Winter Workout, Inspect a Folding Squat Rack
Cover illustration: AI-generated for illustration only. It is not a photograph of this product, a safety inspection, or a load test.
Quick answer: Before returning to workouts after a period of storage, unfold your wall-mounted rack according to its manual and inspect the visible frame, hinges, locking pins, J-cups, pull-up bar, wall connection, and surrounding floor. Stop if anything is loose, bent, cracked, missing, or does not lock fully. Do not “test” a suspected problem by loading a bar. Use the product’s own instructions or contact support to assess a concern before training.
A short check is especially useful when a home gym has been quiet through travel, holidays, or a change in season. It does not replace proper installation, periodic maintenance, or a manufacturer’s inspection. It helps you notice obvious changes before you put equipment back into use.
Start with the rack’s manual and the room
Find the instructions for the exact rack model and review the opening, closing, locking, and maintenance steps. A folding frame can look ready while a pin is only partly seated. Do not rely on a video or a similar-looking rack’s instructions to decide how a different model should lock or be maintained.
Clear the area before unfolding. Move vehicles, boxes, holiday decorations, and loose equipment away from the rack’s movement path. Check the floor for water, ice tracked in from outside, oil, or objects that could make your footing unstable. If the room has been used for storage, make sure the barbell and plates can be moved without striking the rack or another person.
Inspect visible parts without taking the rack apart
With the rack unloaded, look over the uprights, crossmembers, hinges, wall rails, J-cups, safety arms or pins, and accessory attachments that you plan to use. Look for obvious bending, cracks, separation, corrosion, missing hardware, or fresh movement at a connection. Check that protective pieces such as J-cup liners are present and not so damaged that the bar could rest directly on an exposed edge.
Follow the manual to unfold the rack and engage its locking points. Confirm that each pin or latch enters its intended position and that the rack reaches the position described by the manufacturer. Do not substitute a different pin, improvised bolt, or loose object if a locking part is missing. A rack that does not lock as described should stay out of use until the manufacturer or a qualified service professional advises you.
Check the wall connection from the outside
Look for visible gaps, movement, damaged wall material, or a rail that no longer appears flush where it was installed. Do not remove wall coverings, retighten structural fasteners to a guessed torque, or assume a stud location from the rack alone. Wall type, fastener choice, and installation method matter; use the supplied installation instructions and have any suspected movement assessed by a qualified installer.
If the rack was recently moved, folded awkwardly, struck, exposed to a leak, or altered, treat that as a reason for a closer review. Do not load the frame to see whether it “feels solid.” Waxman’s product-support guidance says to stop using equipment if an issue could affect safe use and not to test suspected damage under load or improvise a repair.
Recheck attachments and your first session
Install only the J-cups, bar, pull-up attachment, or other parts listed for your model. Make sure removable pieces are seated and secured exactly as the instructions show. Check that the rack’s movement will not hit a ceiling, garage door, vehicle, light, or storage shelf when opened. The available workout space also needs to accommodate your body and equipment; that is separate from the rack’s own dimensions.
Once the inspection is complete and all parts match the manual, begin with a familiar, conservative routine and keep the area clear. This is not a test of the rack’s capacity, and it cannot confirm an installation that is hidden inside a wall. Stop if you hear a new sharp sound, see movement, or notice a latch disengaging. Unload the equipment safely and contact support or a qualified installer rather than continuing.
When to stop and ask for help
- A pin, latch, safety arm, or required fastener is missing or will not engage.
- You see a bent member, cracked weld, damaged hinge, shifting wall rail, or new gap.
- The rack moves at its wall connection or does not sit in the position described by its manual.
- You cannot identify the correct instructions or the part that needs replacement.
Send the manufacturer the product name, model or item number, purchase details, the relevant instruction step, and clear photos of the affected area. Do not send passwords or payment-card details. Keep the product unloaded until you have instructions for the specific issue.
Product details

Waxman 2.36-inch Folding Wall-Mounted Squat Rack
Product page lists alloy-steel construction and dimensions of 21.8 × 47 × 85.8 inches. Verify installation requirements and included parts on the exact product page before purchase or use.
$299.99 USD — price checked November 11, 2026. Price and availability may change; see the product page.
For a different rack model, follow that model’s manual; dimensions, hinges, locking parts, and installation requirements vary.
Sources
- Waxman product page — product name, listed dimensions, construction, and model-specific product details.
- Waxman Warranty & Product Support — stop use if an issue could affect safe use; do not test suspected damage under load or improvise repairs.
- Waxman FAQs — contact support with product/order information and relevant photos for damaged, missing, or unclear parts.
Written by Codex from the cited product and support information. No physical inspection, engineering review, or equipment test is claimed.
Leave a Reply