
No products in the cart.
Will a 7-Foot Barbell Fit Your Home Gym? A Pre-Holiday Measuring Checklist
Quick answer: Before bringing a seven-foot Olympic barbell into a home gym for winter or New Year training, measure more than the wall where you plan to store it. Check the room’s usable width, the loaded bar’s total end-to-end span, the rack’s approved bar compatibility, the movement area for your intended exercises, and the route through doors and stairs. The bar’s listed length alone cannot tell you whether the room is workable.
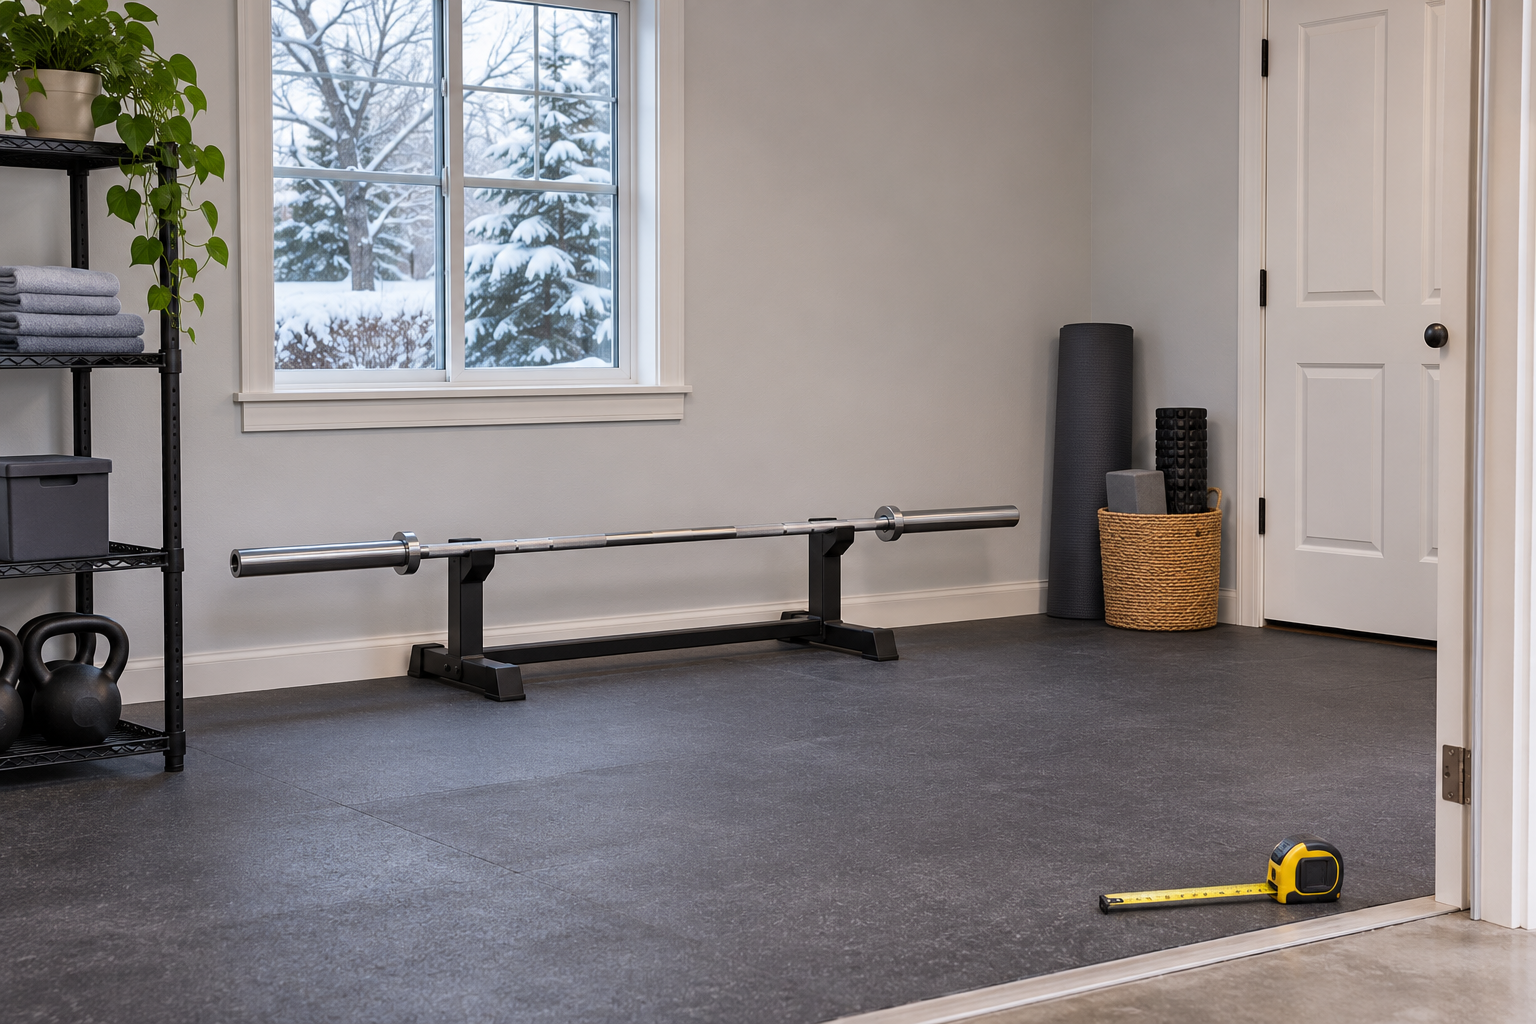
Cover image is an AI-generated layout illustration, not a Waxman product photo or a measured room.
Start with the exact bar and rack specifications
Read the product page for the specific bar you are considering and the instructions for the rack or stands you already own. “Seven feet” is not the usable width between uprights, and a listed bar length does not prove that every rack will accept the bar. Confirm the bar’s sleeve diameter, the rack’s stated bar compatibility, and any limits in the equipment instructions before ordering.
The Waxman 7ft Olympic Barbell page lists a 45-pound bar, a 2-inch weight fit, and a stated 1,500-pound capacity. These are the seller’s specifications for that product listing. They do not establish compatibility with an unidentified rack, nor do they determine the capacity of another part of your setup.
Measure the loaded bar, not just the shaft
Use the actual plates and collars you plan to use, or their verified dimensions, to estimate the bar’s maximum loaded span. Measure from the outside edge of the plate on one end to the outside edge on the other. Add the space needed to slide plates on and off each sleeve; the amount depends on the plates and collars. Do not assume a 7-foot bar leaves a full 7 feet of working room.
Then mark the loaded span on the floor with painter’s tape or a straight measuring line. Stand at the points where you would load the plates and check for walls, shelves, vehicles, doors, and other equipment. If a plate would hit an obstacle or you cannot reach the sleeve comfortably, the planned position needs to change.
Check the workout space around the bar
A clear storage location is different from a usable exercise area. For each lift you intend to perform, mark the bar’s starting position and the space your body and equipment occupy through the movement. Include rack uprights, safety arms, bench placement, and the bar’s path. Follow the rack maker’s directions and do not invent a universal clearance number: room, equipment, exercise, and user needs vary.
Leave a practical path through the room that stays clear when the bar is loaded and when accessories are in use. If a holiday guest room, car, or seasonal storage item changes the garage layout, map the normal route again before the next workout. If the only setup leaves no comfortable way to move plates or use the equipment as directed, choose a different location or a shorter bar designed for that setup.
Measure the delivery route separately
Before ordering, measure doorway width and height, hall turns, stair landings, and the path from the delivery point to the workout area. Check the package dimensions on the product page if they are provided; the bar’s length and the shipping carton are not necessarily the same. Do not rely on diagonal clearance without checking whether the item can actually turn at each landing.
Ask the seller or carrier about the delivery method and included handling if the item is long or heavy. A room can fit the final setup while the route into it does not. Keep the walk path clear and get help appropriate to the item’s weight; do not try to force a bar or package through a tight turn.
Plan storage for the days you are not lifting
Decide where the unloaded bar will rest, how it will be kept from rolling, and whether the storage spot blocks a doorway or another piece of equipment. Use a rack or holder intended for the bar and follow its installation directions. Do not leave a loaded bar balanced across furniture or propped where it can roll into a walkway.
Use a short pre-purchase checklist
- Confirm the product’s length, sleeve fit, and stated capacity from its exact listing.
- Confirm that your rack or stands accept that bar; do not infer compatibility from the words “Olympic bar.”
- Measure the outside-to-outside span with the plates and collars you will actually use.
- Mark exercise, loading, storage, and walking areas on the floor.
- Check every doorway and turn on the delivery route.
- Recheck the layout after seasonal storage or vehicles move into the space.
Product example
The Waxman 7ft Olympic Barbell listing identifies it as a 45-pound, seven-foot bar for 2-inch weight plates and states a 1,500-pound capacity. Verify rack compatibility, plate dimensions, and the complete product details for your exact setup before purchase.

Waxman 7ft Olympic Barbell for Weightlifting and Powerlifting
Listed specifications: 45 lb; fits 2-inch standard weights; stated 1,500 lb capacity. Confirm compatibility with your rack and the instructions for your other equipment.
$69.00 USD (listed in stock when checked November 16, 2026). Price and availability may change; see product page.
This guide is a room-planning checklist, not an installation inspection or exercise prescription. For a holiday or New Year purchase, measure the entire setup before ordering and follow the manufacturer instructions for the bar, plates, rack, and storage hardware.
Leave a Reply