
No products in the cart.
How to Keep Your Wrists Straight During a Seated Cable Row
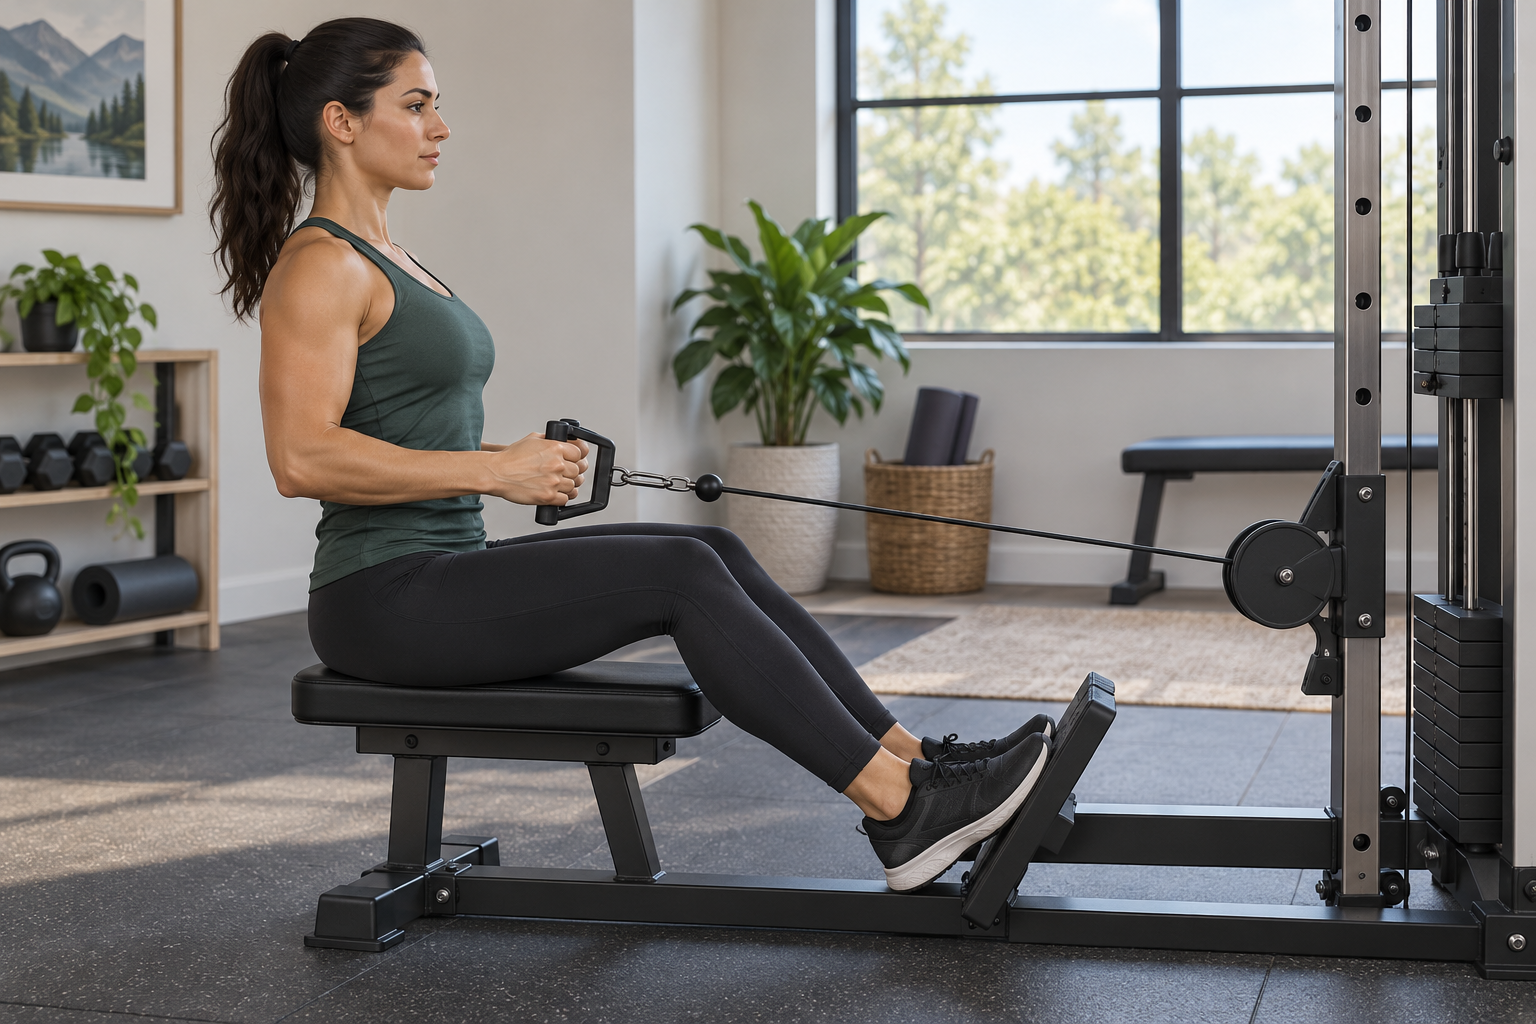
Quick answer: Keep your hand, wrist, and forearm in one comfortable line while you row. Grip firmly enough to control the handle, but do not curl the wrist toward your palm or cock it backward to finish the pull. Reduce resistance if your wrist bends, your torso jerks, or you feel pain. A neutral wrist is a useful form cue, not a guarantee against injury or a treatment for wrist symptoms.
What “neutral wrist” means during a row
In a cable row, the hands hold the attachment while the elbows move back and the cable draws toward the body. A neutral wrist means the back of the hand stays roughly in line with the forearm instead of sharply folding up, down, or sideways. The grip should feel secure without squeezing so hard that the forearms dominate the movement.
The American Council on Exercise’s seated-row exercise guidance describes sitting with the feet supported, knees bent, a straight back, and drawing the elbows back close to the rib cage before slowly returning the arms. Use that as a general movement reference. Individual proportions, mobility, handles, and equipment geometry vary, so there is no single exact hand position for everyone.

Set up the row before pulling
- Check the equipment. Follow the pulley system’s instructions for assembly, attachment, loading, and inspection. Confirm that the cable, pulley, connector, handle, and anchor are secure and show no damage. Do not use an improvised anchor or assume a frame is rated for a direction of pull.
- Choose a stable position. Sit or brace in the position allowed by the equipment. Keep your feet supported and knees comfortably bent if the setup permits. If you use a bench in front of a pulley, verify that neither the bench nor your feet can slide as the cable loads.
- Begin light. Select resistance that lets you move smoothly without leaning back, shrugging, or gripping painfully. A plate’s printed weight does not necessarily equal the force felt at the handle because cable routing changes the mechanics.
- Check the handle. A straight bar, rope, or separate handles can place the wrists differently. Choose an attachment that lets your hands line up naturally with your forearms. Do not twist the wrist to force a preferred grip onto a handle.
Use the wrist cue through the repetition
Start with the arms reaching forward only as far as you can stay comfortable and controlled. Keep the shoulders relaxed and your torso steady. Begin the pull by moving the elbows back; let the hands travel with the handle rather than trying to bend the wrists to bring it closer. For a common seated-row variation, ACE describes bringing the handle toward the front of the stomach while keeping the elbows near the rib cage.
Stop the pull where your shoulders remain comfortable and the wrist still lines up with the forearm. You do not need to force the handle into your body or pinch your shoulder blades as hard as possible. On the return, extend the arms gradually while resisting the cable. Avoid letting the weight stack or suspended plates drop abruptly, and do not let the handle yank your hands forward.
Why wrists bend, and how to adjust
- The load is too challenging: Reduce it until you can maintain a steady torso and aligned wrist. If the smallest available increment is still too much, use a different approved setup or exercise.
- The handle is awkward: Try a compatible attachment that allows a more natural hand position. Confirm the attachment is intended for the system and properly connected.
- You pull past a comfortable range: End the repetition sooner. The handle does not have to touch your torso if reaching that endpoint makes the wrist, shoulder, or back compensate.
- You squeeze excessively: Keep a secure grip, but relax unnecessary tension between repetitions. A slipping handle is not safe; if your grip cannot control the handle, stop and reassess the load and attachment.
- Your body moves to finish the rep: Lower resistance and shorten the range until the movement is controlled. Do not use momentum to disguise a load you cannot manage.
When to stop
Muscle effort is different from sharp, increasing, or unusual joint pain. Stop if you feel pain, numbness, tingling, sudden weakness, or loss of control. Do not keep testing the same movement to see whether symptoms disappear. A qualified healthcare professional can assess persistent symptoms; a qualified coach can help review general technique, but should not diagnose an injury.
Inspect the system before each use and follow the exact manual for wear, loading limits, and mounting. The Waxman Fitness LAT and Lift Pulley System listing describes 70-inch and 90-inch cable options, pull-down and lift-up configurations, and detachable handles including a straight bar and triceps rope. Those listing details do not establish that every anchor or row position is suitable; confirm your exact setup and instructions before training.
Sources: American Council on Exercise, Seated Row exercise library; Waxman product listing. This article was prepared with Codex assistance. No personal equipment test or human editorial review is claimed.
Leave a Reply