
No products in the cart.
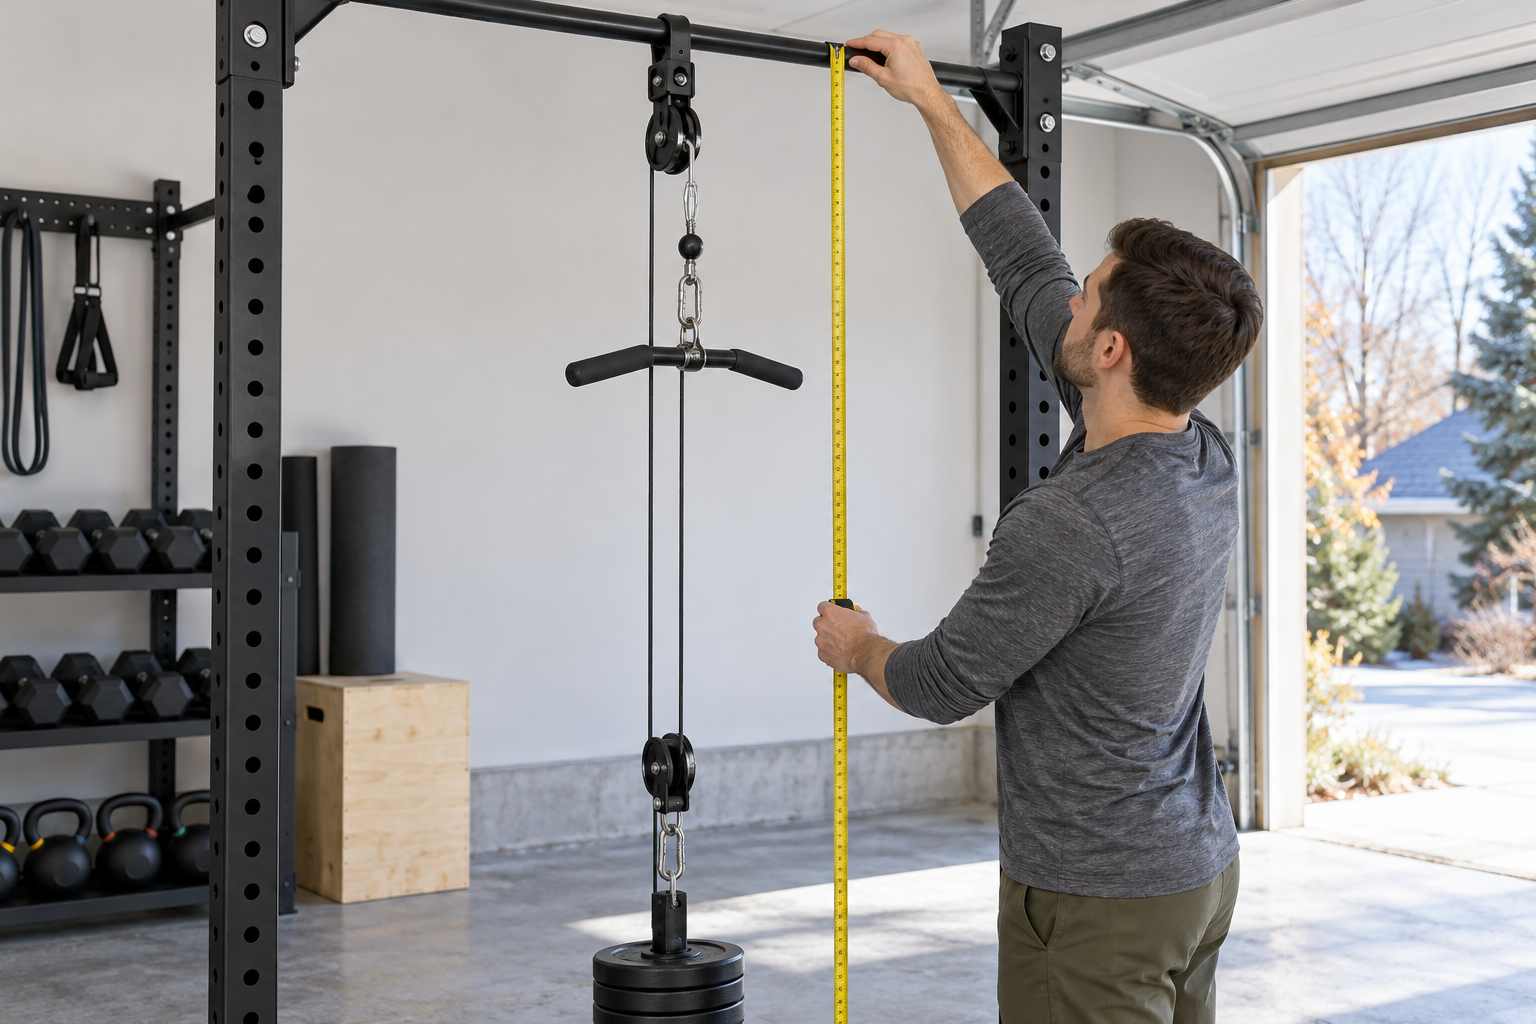
How to Measure Clearance for a Home Gym Pulley Attachment
AI-generated illustration; it shows a generic measuring setup, not a tested product configuration.
Quick answer: Before adding a home gym pulley attachment for holiday workouts, measure the whole setup in its intended position: anchor height, attachment and cable path, handle or bar travel, your standing or seated posture, and the surrounding clearance. A ceiling-height number alone cannot tell you whether a particular combination will fit or move safely. Use the exact attachment and host-equipment instructions, and do not exercise if the cable, handle, plates, or your body could strike a ceiling, wall, light, garage door, or another person.
Why a tape measure needs to follow the movement
A pulley setup changes shape as the handle moves. The top anchor may fit under the ceiling while the handle or your hands travel higher, lower, or farther forward than expected. A cable can also swing or angle as you change position. Furniture, stored bins, a low beam, a ceiling fan, or an open garage door can reduce the usable space. Measure the area where the equipment will actually be used, not only the room dimensions on a floor plan.
Write down the exact configuration before measuring: which attachment, which anchor point, which handle, whether you will stand or sit, and where plates or other resistance are positioned. A setup that fits for one movement may not have the same clearance for another. Do not assume that a listed cable length equals the amount of user travel available.
A practical measurement sequence
- Check the host equipment first. Confirm that its manufacturer permits the attachment at the chosen anchor point. Verify the rack, pull-up bar, beam, or other structure is installed and used as directed. A product attachment’s own listing cannot establish that a different host structure can accept it.
- Mark the anchor point. Measure from the floor to the exact attachment point, then note the ceiling, beam, door track, lights, and anything else above or beside it. Check the room both with the garage door open and closed if its track or panels are near the training area.
- Map the handle path. With no load and the equipment secured as instructed, map the intended start and finish positions. Include the space needed for your hands, elbows, head, and body. Keep a margin so you are not relying on a near miss or a particular body position to avoid contact.
- Check the cable route. Confirm that the cable can travel without rubbing an edge, wrapping around an obstruction, crossing another moving part, or pulling the anchor sideways. Do not route a cable around an improvised point because it is convenient.
- Leave a clear training zone. Make sure another person cannot walk into the moving handle or resistance. Keep stored plates, furniture, and seasonal decorations outside the path, and preserve access to the equipment’s release or adjustment points.
Test the space without lifting
Once the setup is assembled according to the instructions, move the handle slowly through the intended range with no added resistance if the manufacturer permits that check. Watch for contact, cable slack, binding, an anchor that shifts, or a connection that does not remain seated. This is a clearance check, not proof that the attachment, rack, or cable is rated for a particular load. Do not hang weights or pull hard to test a questionable anchor.
If something rubs, catches, or shifts, stop and change the layout only in ways the equipment instructions allow. Do not remove a guard, add an unapproved extension, tie the cable to a different point, or substitute hardware based on appearance. If you cannot establish whether the host structure or attachment is compatible, ask the manufacturers before loading it.
Use the product listing carefully
Waxman’s LAT and Lift Pulley System product page checked October 31, 2026 lists 70-inch and 90-inch sheathed cables and describes connecting the system to a power cage, pull-up bar, or beam where a hanging strap can be installed. It lists the product at $43.00 USD. Those are listing details, not a guarantee that a specific room, bar, rack, or movement will fit. Confirm the exact included parts, host-equipment instructions, current price, and compatibility before purchasing or setting up an attachment.
When the layout does not work
Choose a different location or exercise if the handle path reaches a ceiling, light, door track, wall, or storage item; if the cable must run at an unapproved angle; or if people cannot stay clear. A low ceiling is not something to solve by shortening the cable or changing the anchor without approval. When the room does not provide the clearance required by the manuals, do not use that configuration.
Measure again after moving equipment or changing the attachment. A seasonal reorganization can move a bench, car, storage rack, or decoration into the training path. Keep the dimensions and a simple sketch with your equipment notes so you can repeat the same setup check before the next session.

Waxman Fitness LAT and Lift Pulley System
70-inch and 90-inch sheathed cable options · $43.00 USD (checked October 31, 2026)
Confirm host equipment compatibility and current included parts on the official listing. Price and availability may change.
Leave a Reply